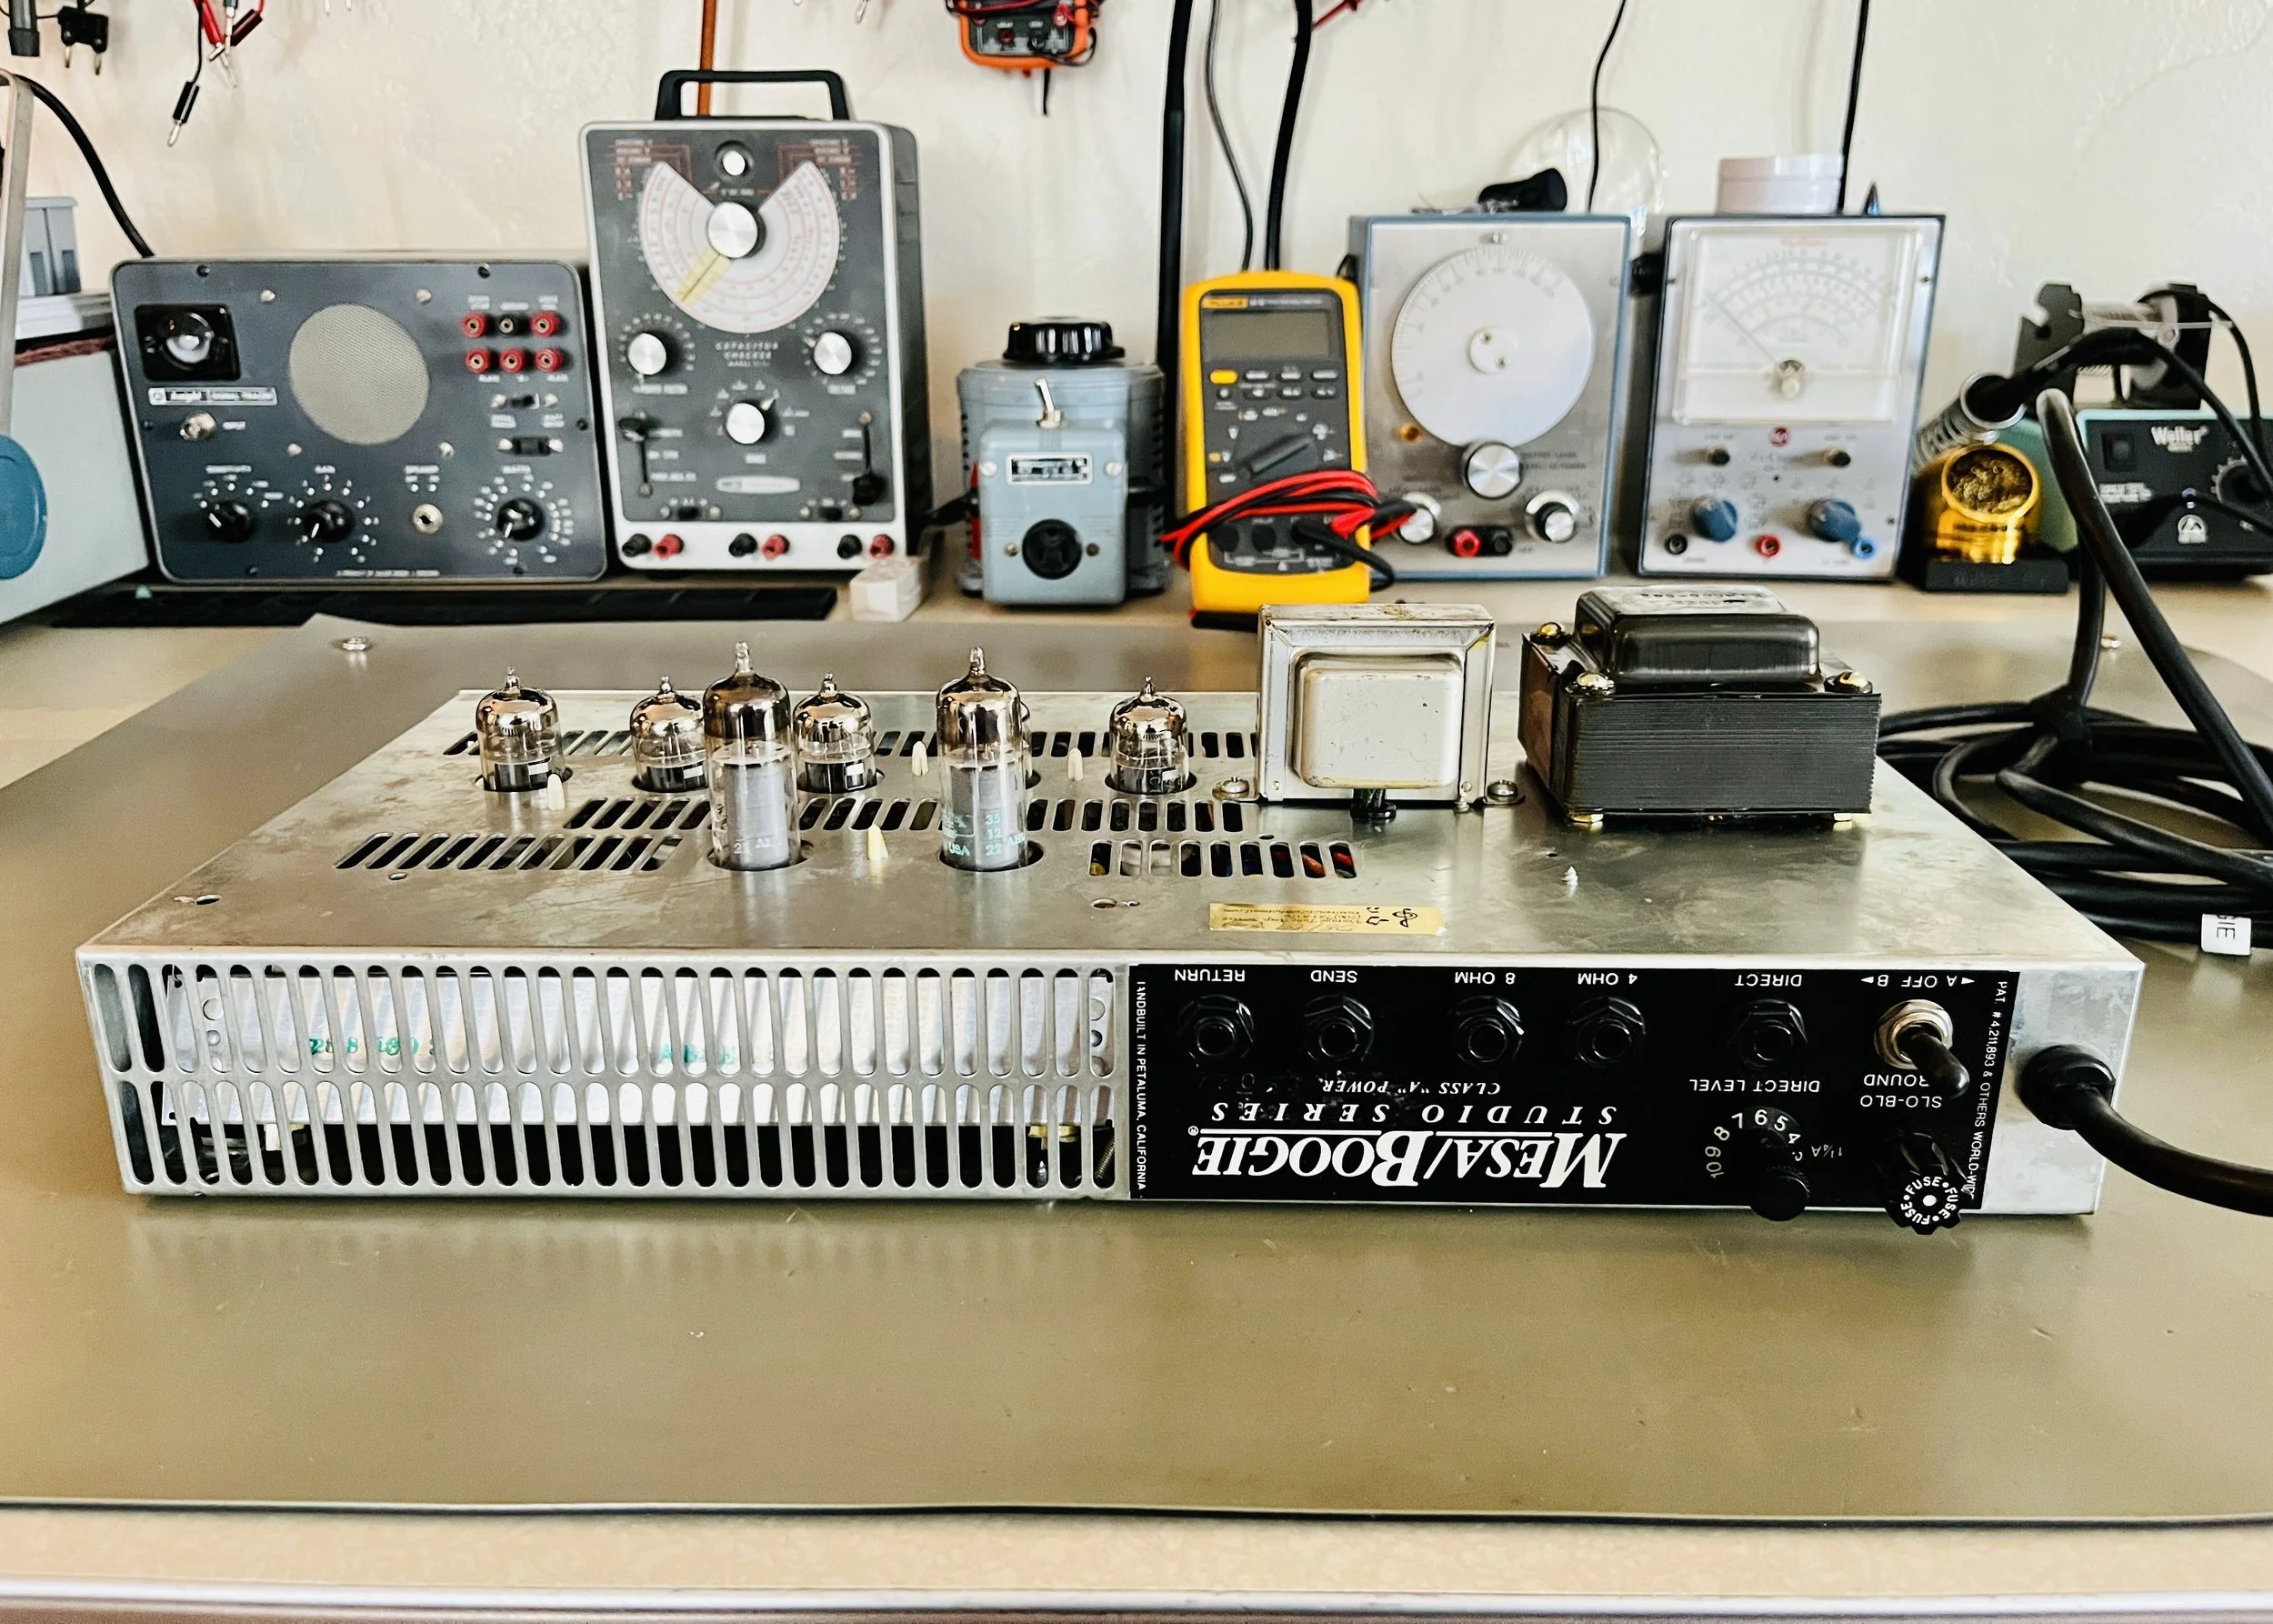
1985 Mesa Boogie Studio Series .22
The caliber series was launched in November 1985 with the release of the 22 Caliber (or Studio Series .22). As the name suggests it was Mesa Boogie’s first lower wattage “practice” amp and it’s low price ensured it was a big hit with guitarists who could not afford the often extravagantly priced Mark series. Following the success of the .22 Randall Smith and company decided to extend the budget range Studio Series with higher output models like the .38 Special (four EL84 tubes - 38 watts) and the .50 Caliber (two 6L6 tubes - 50 watts), this was first advertised in the 1986 catalog. The original Studio .22 was revamped as the Studio .22+ in 1988 with an added lead master pot/knob and plastic toggle switches for power and eq. In 1993 this range was replaced by Mesa’s second budget range, the Dual Caliber amplifiers. Even considering it’s short run, it’s still a fairly obscure model for an amp made by Mesa Boogie, and as such does not command the value of more popular models like the Mark IIC+. Because of its current collectors status (or lack there of really), this is a great amp for someone looking to own a vintage Mesa without the financial shock that normally comes with them. I could not find any notable users of this amp, but they do sound good, maybe they will get re-discovered some day.
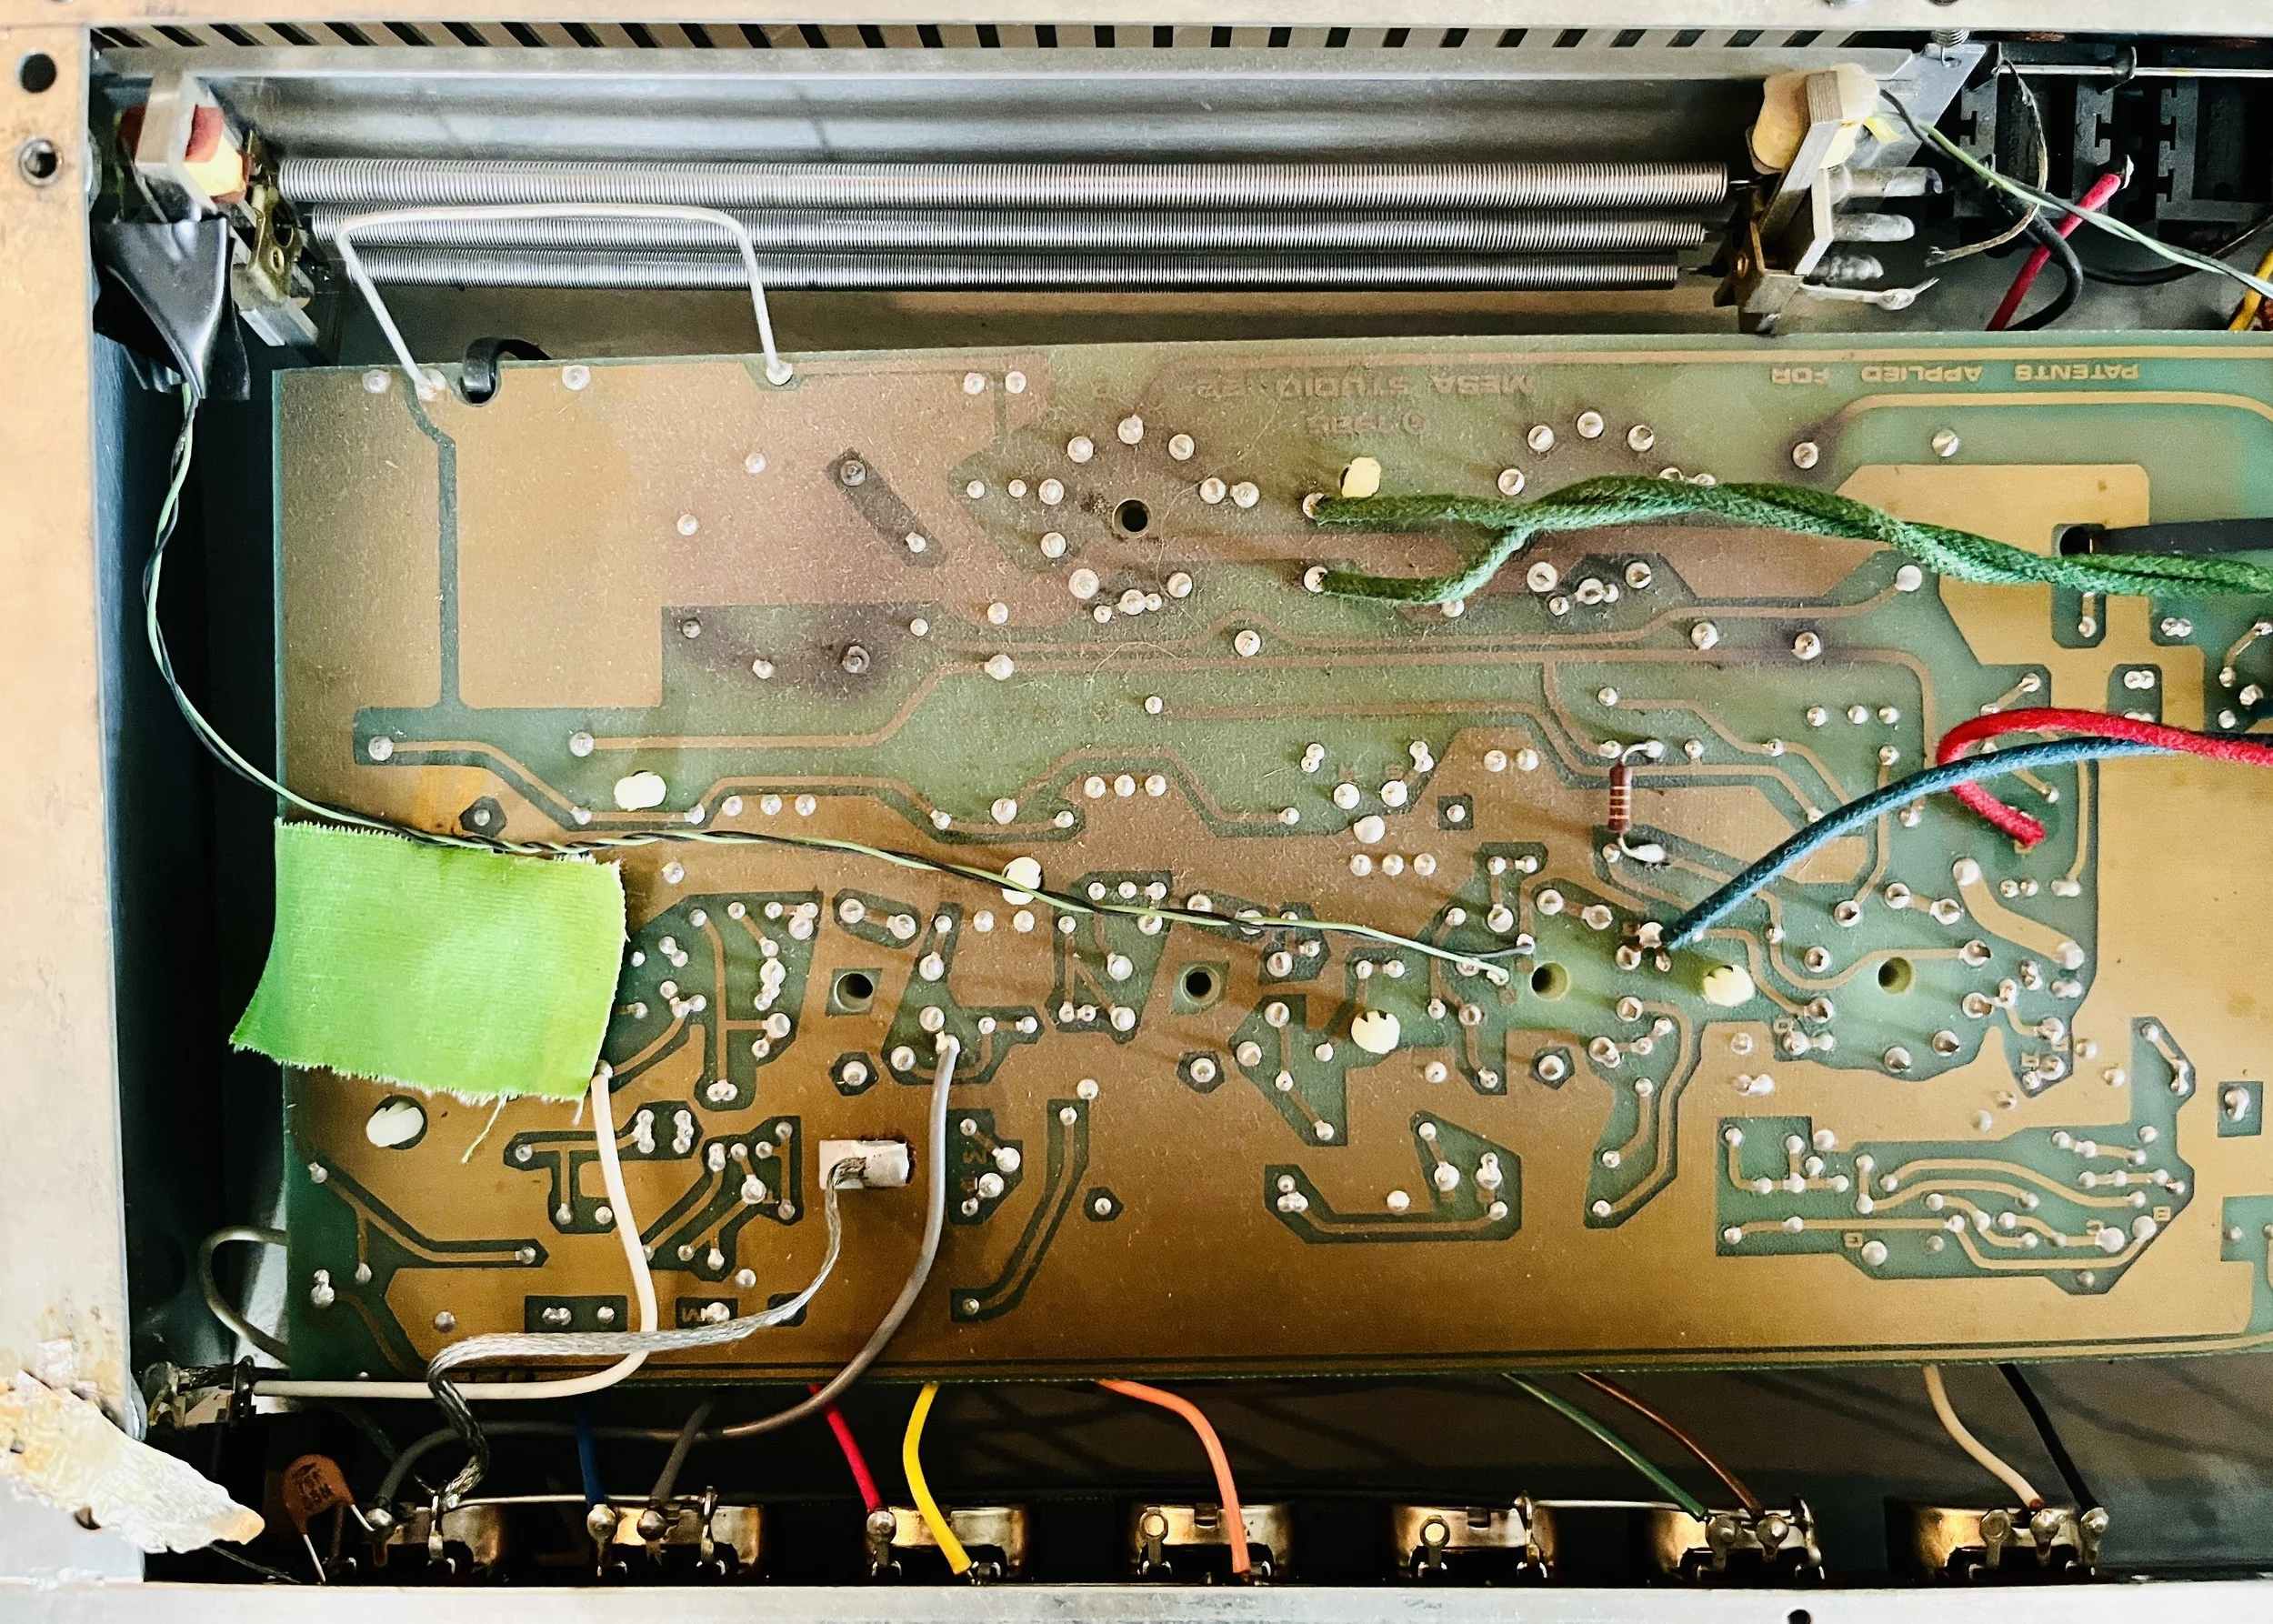
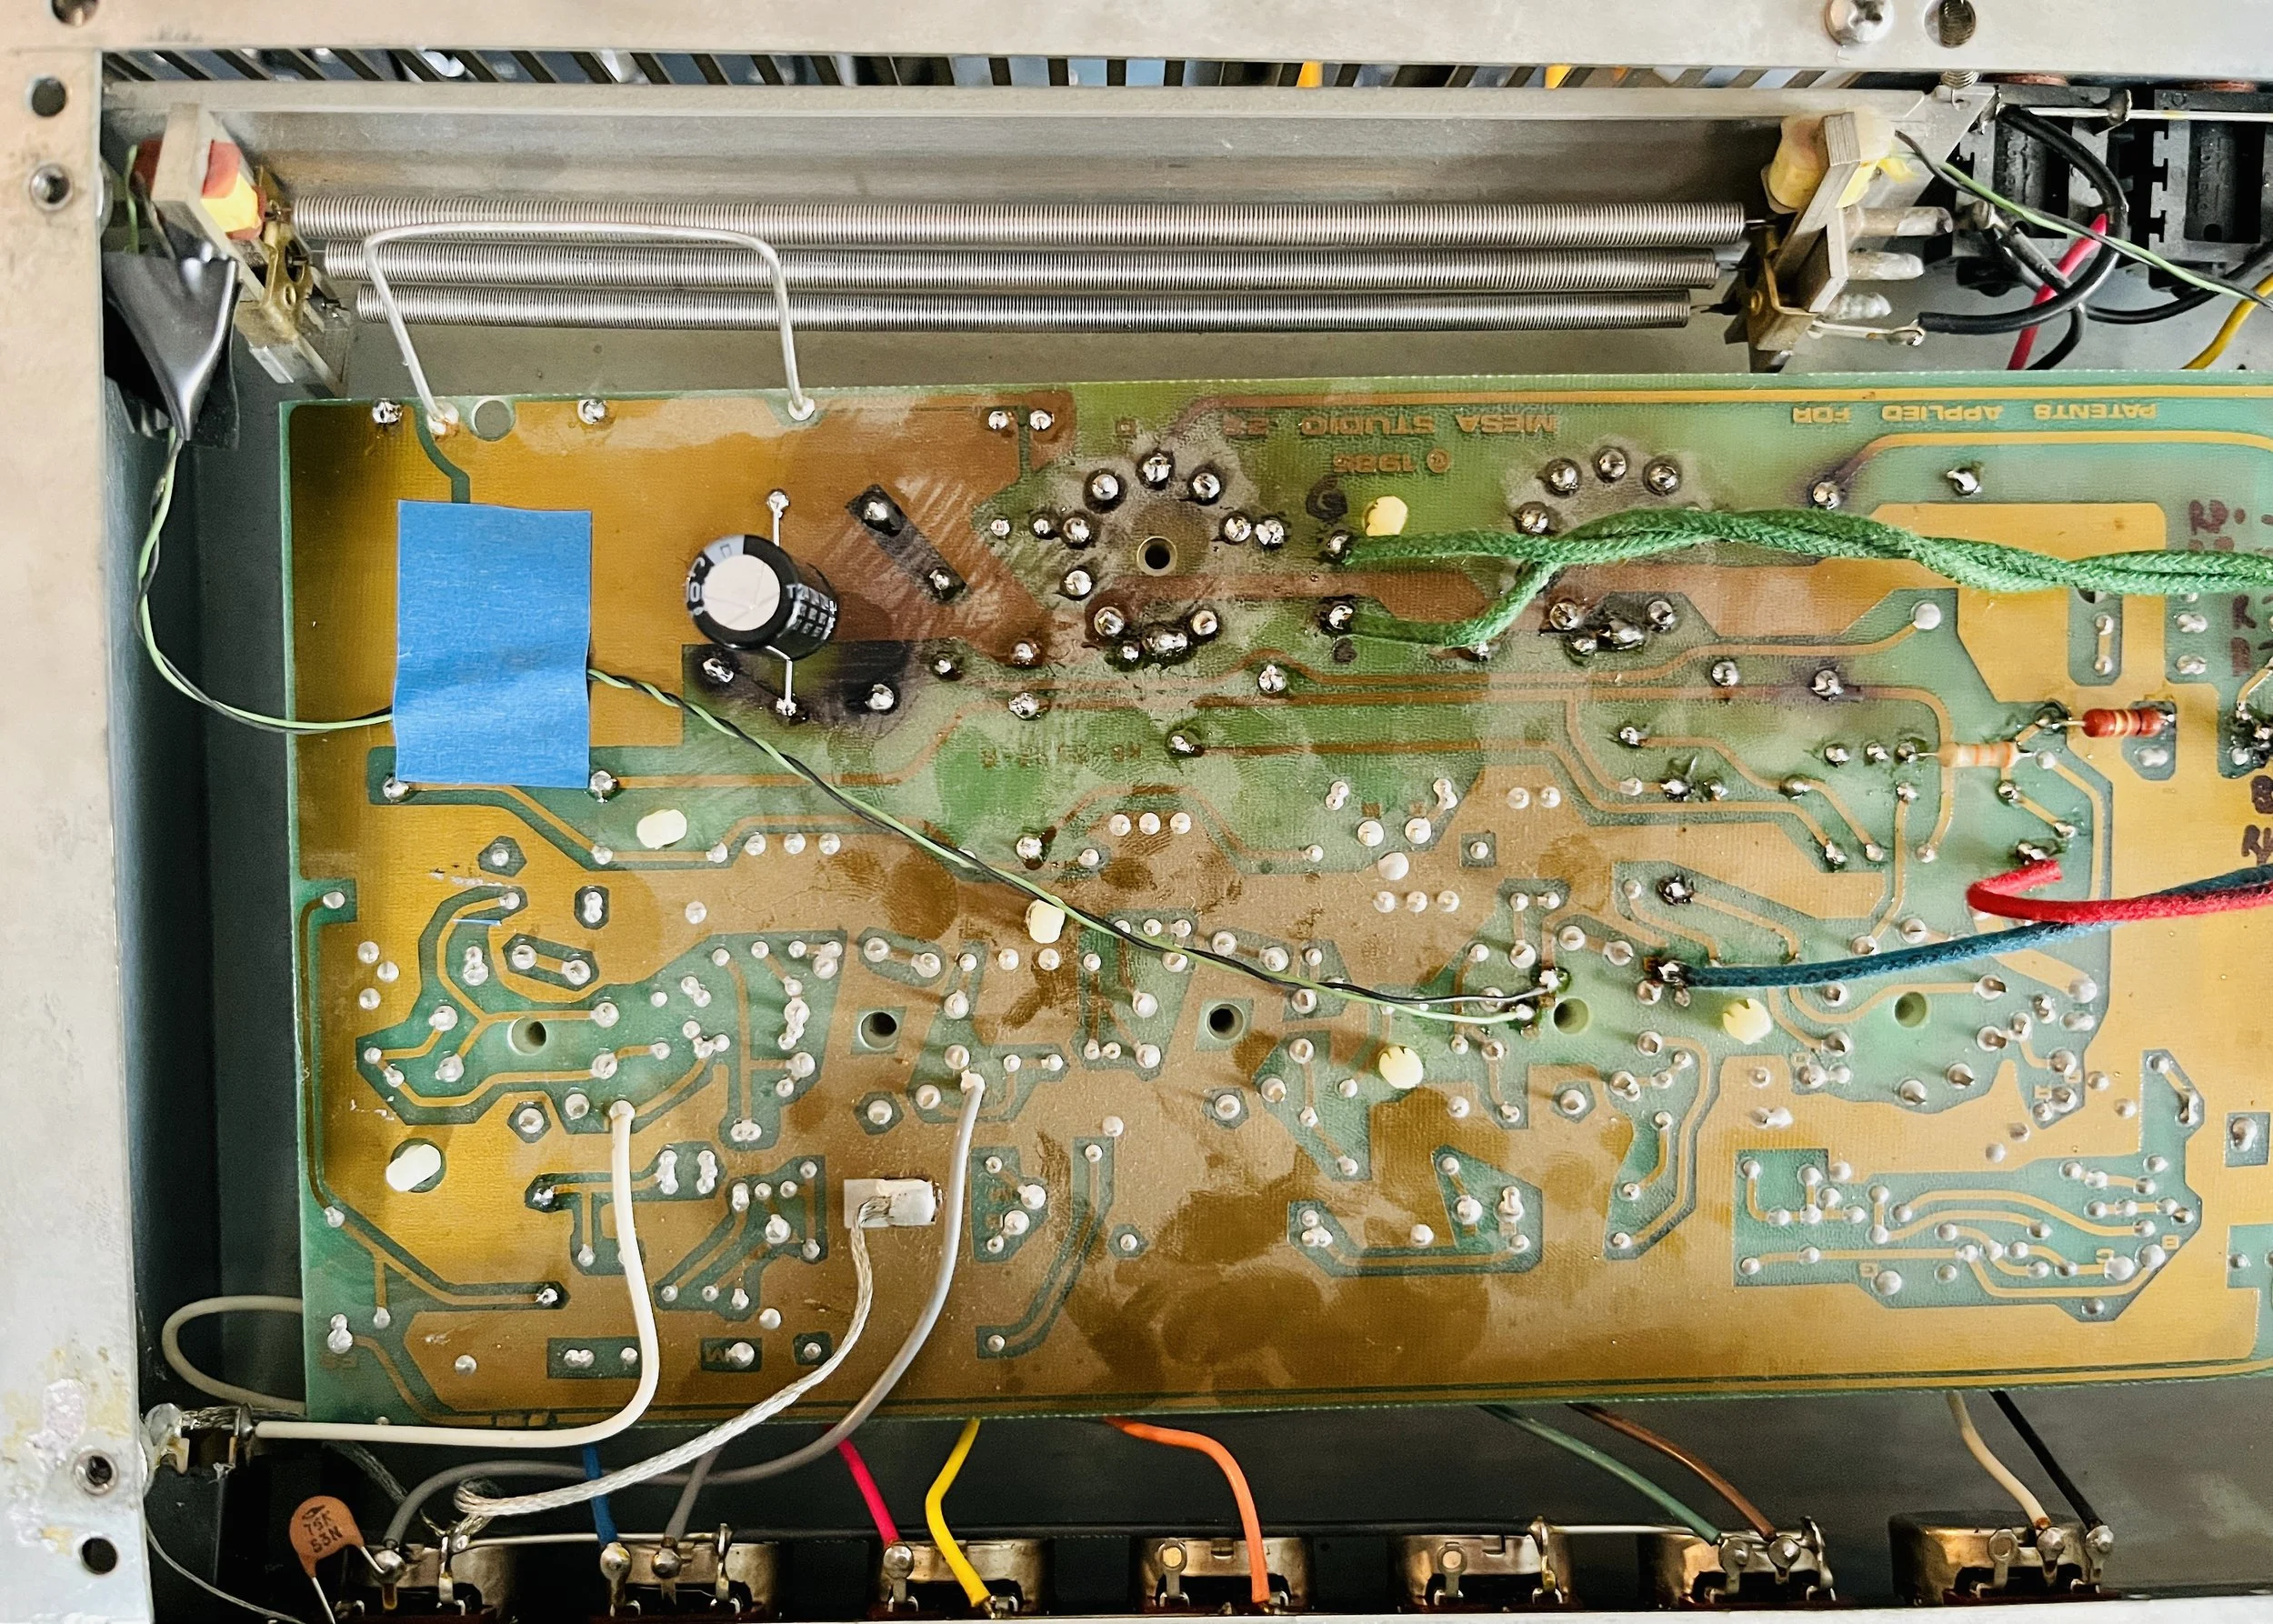
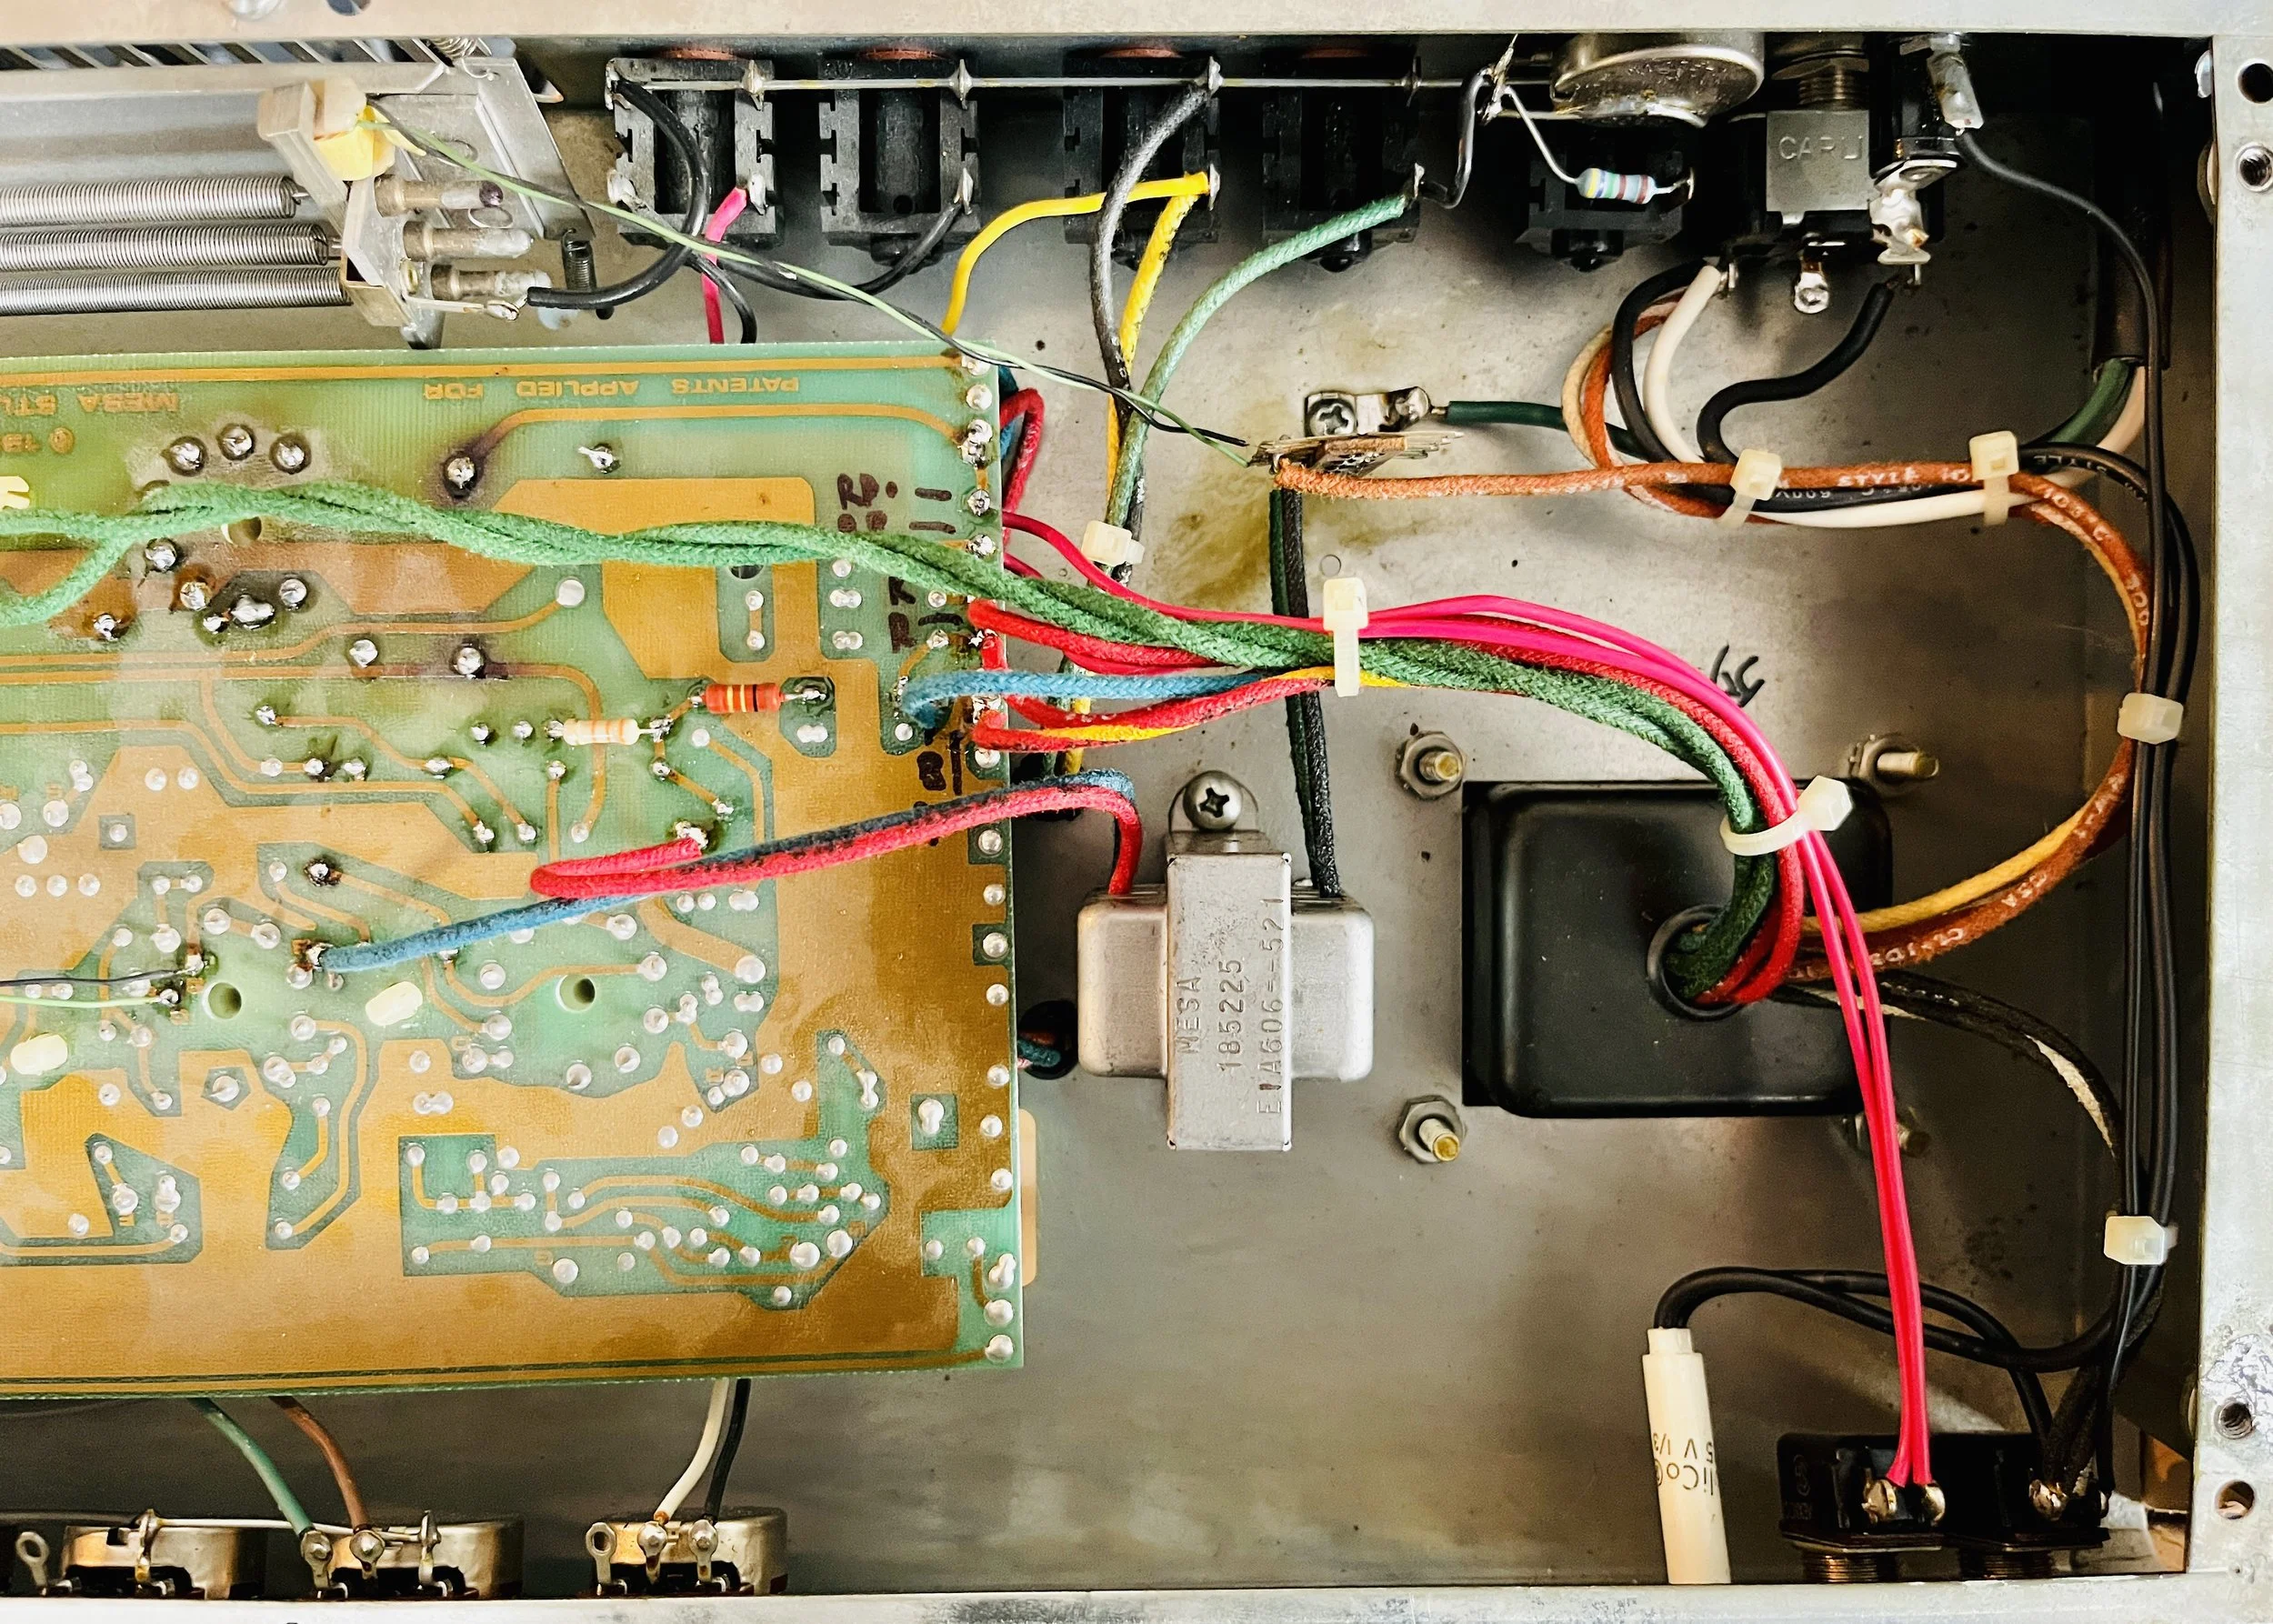
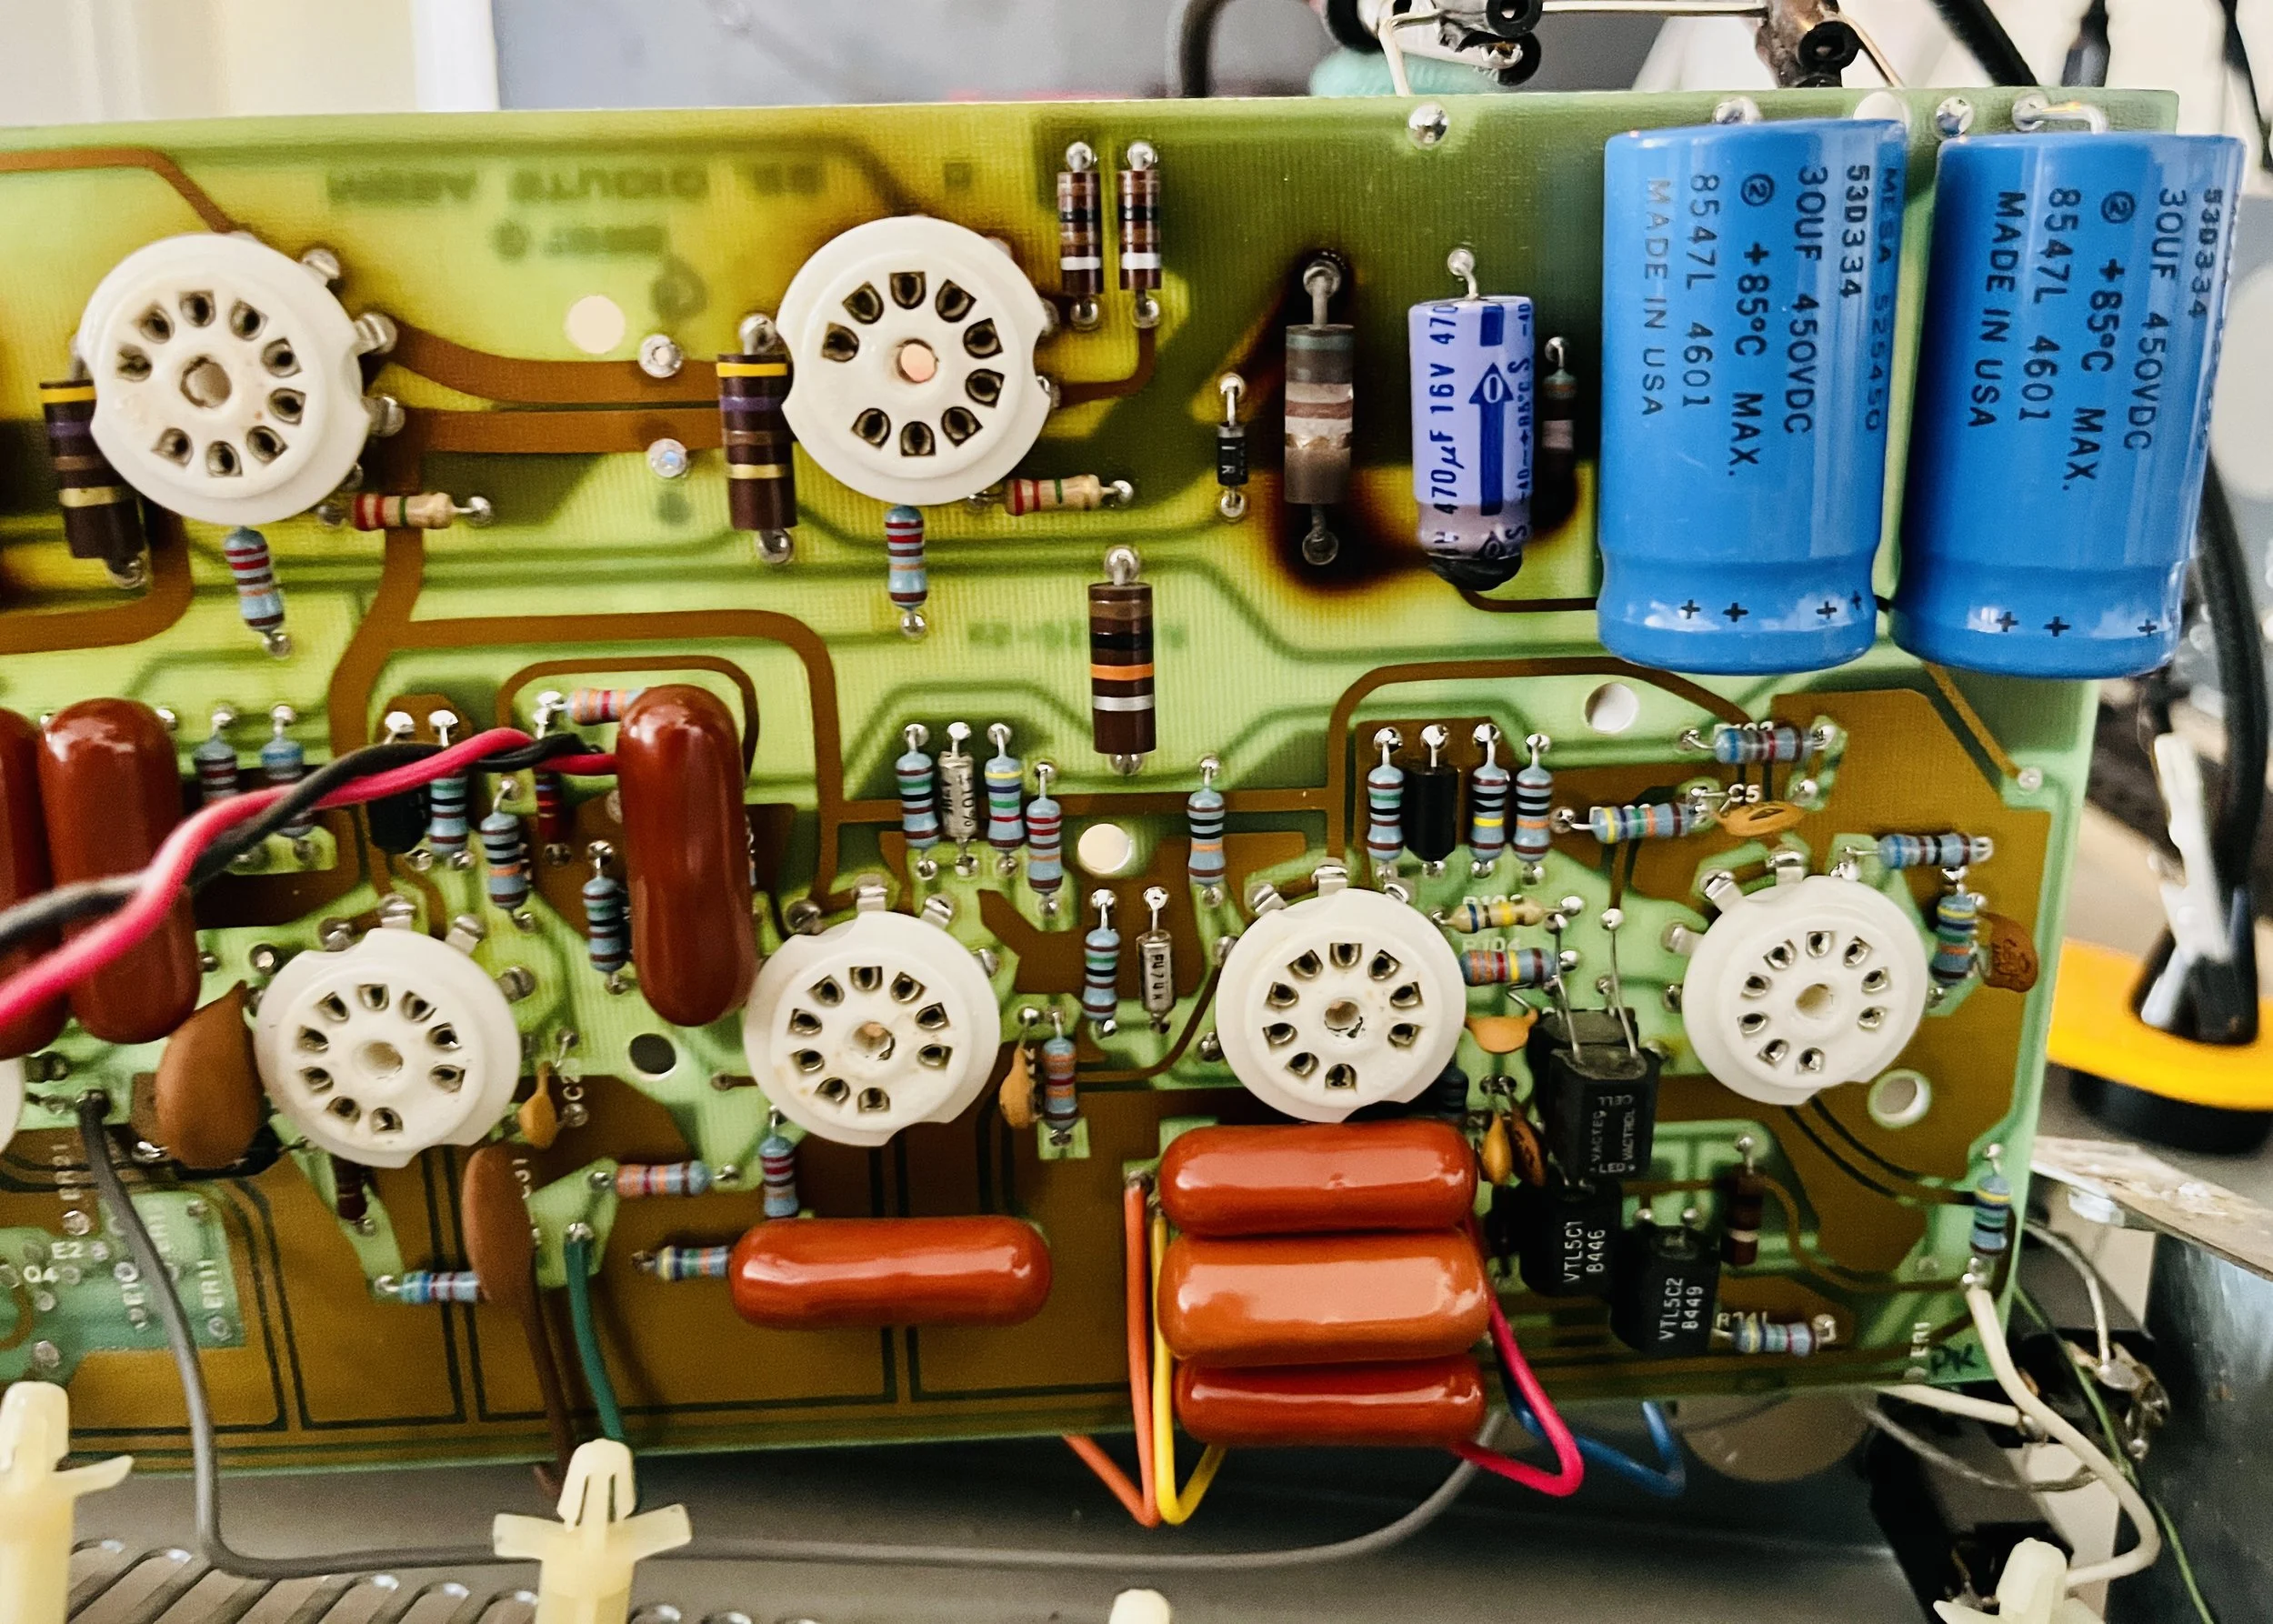
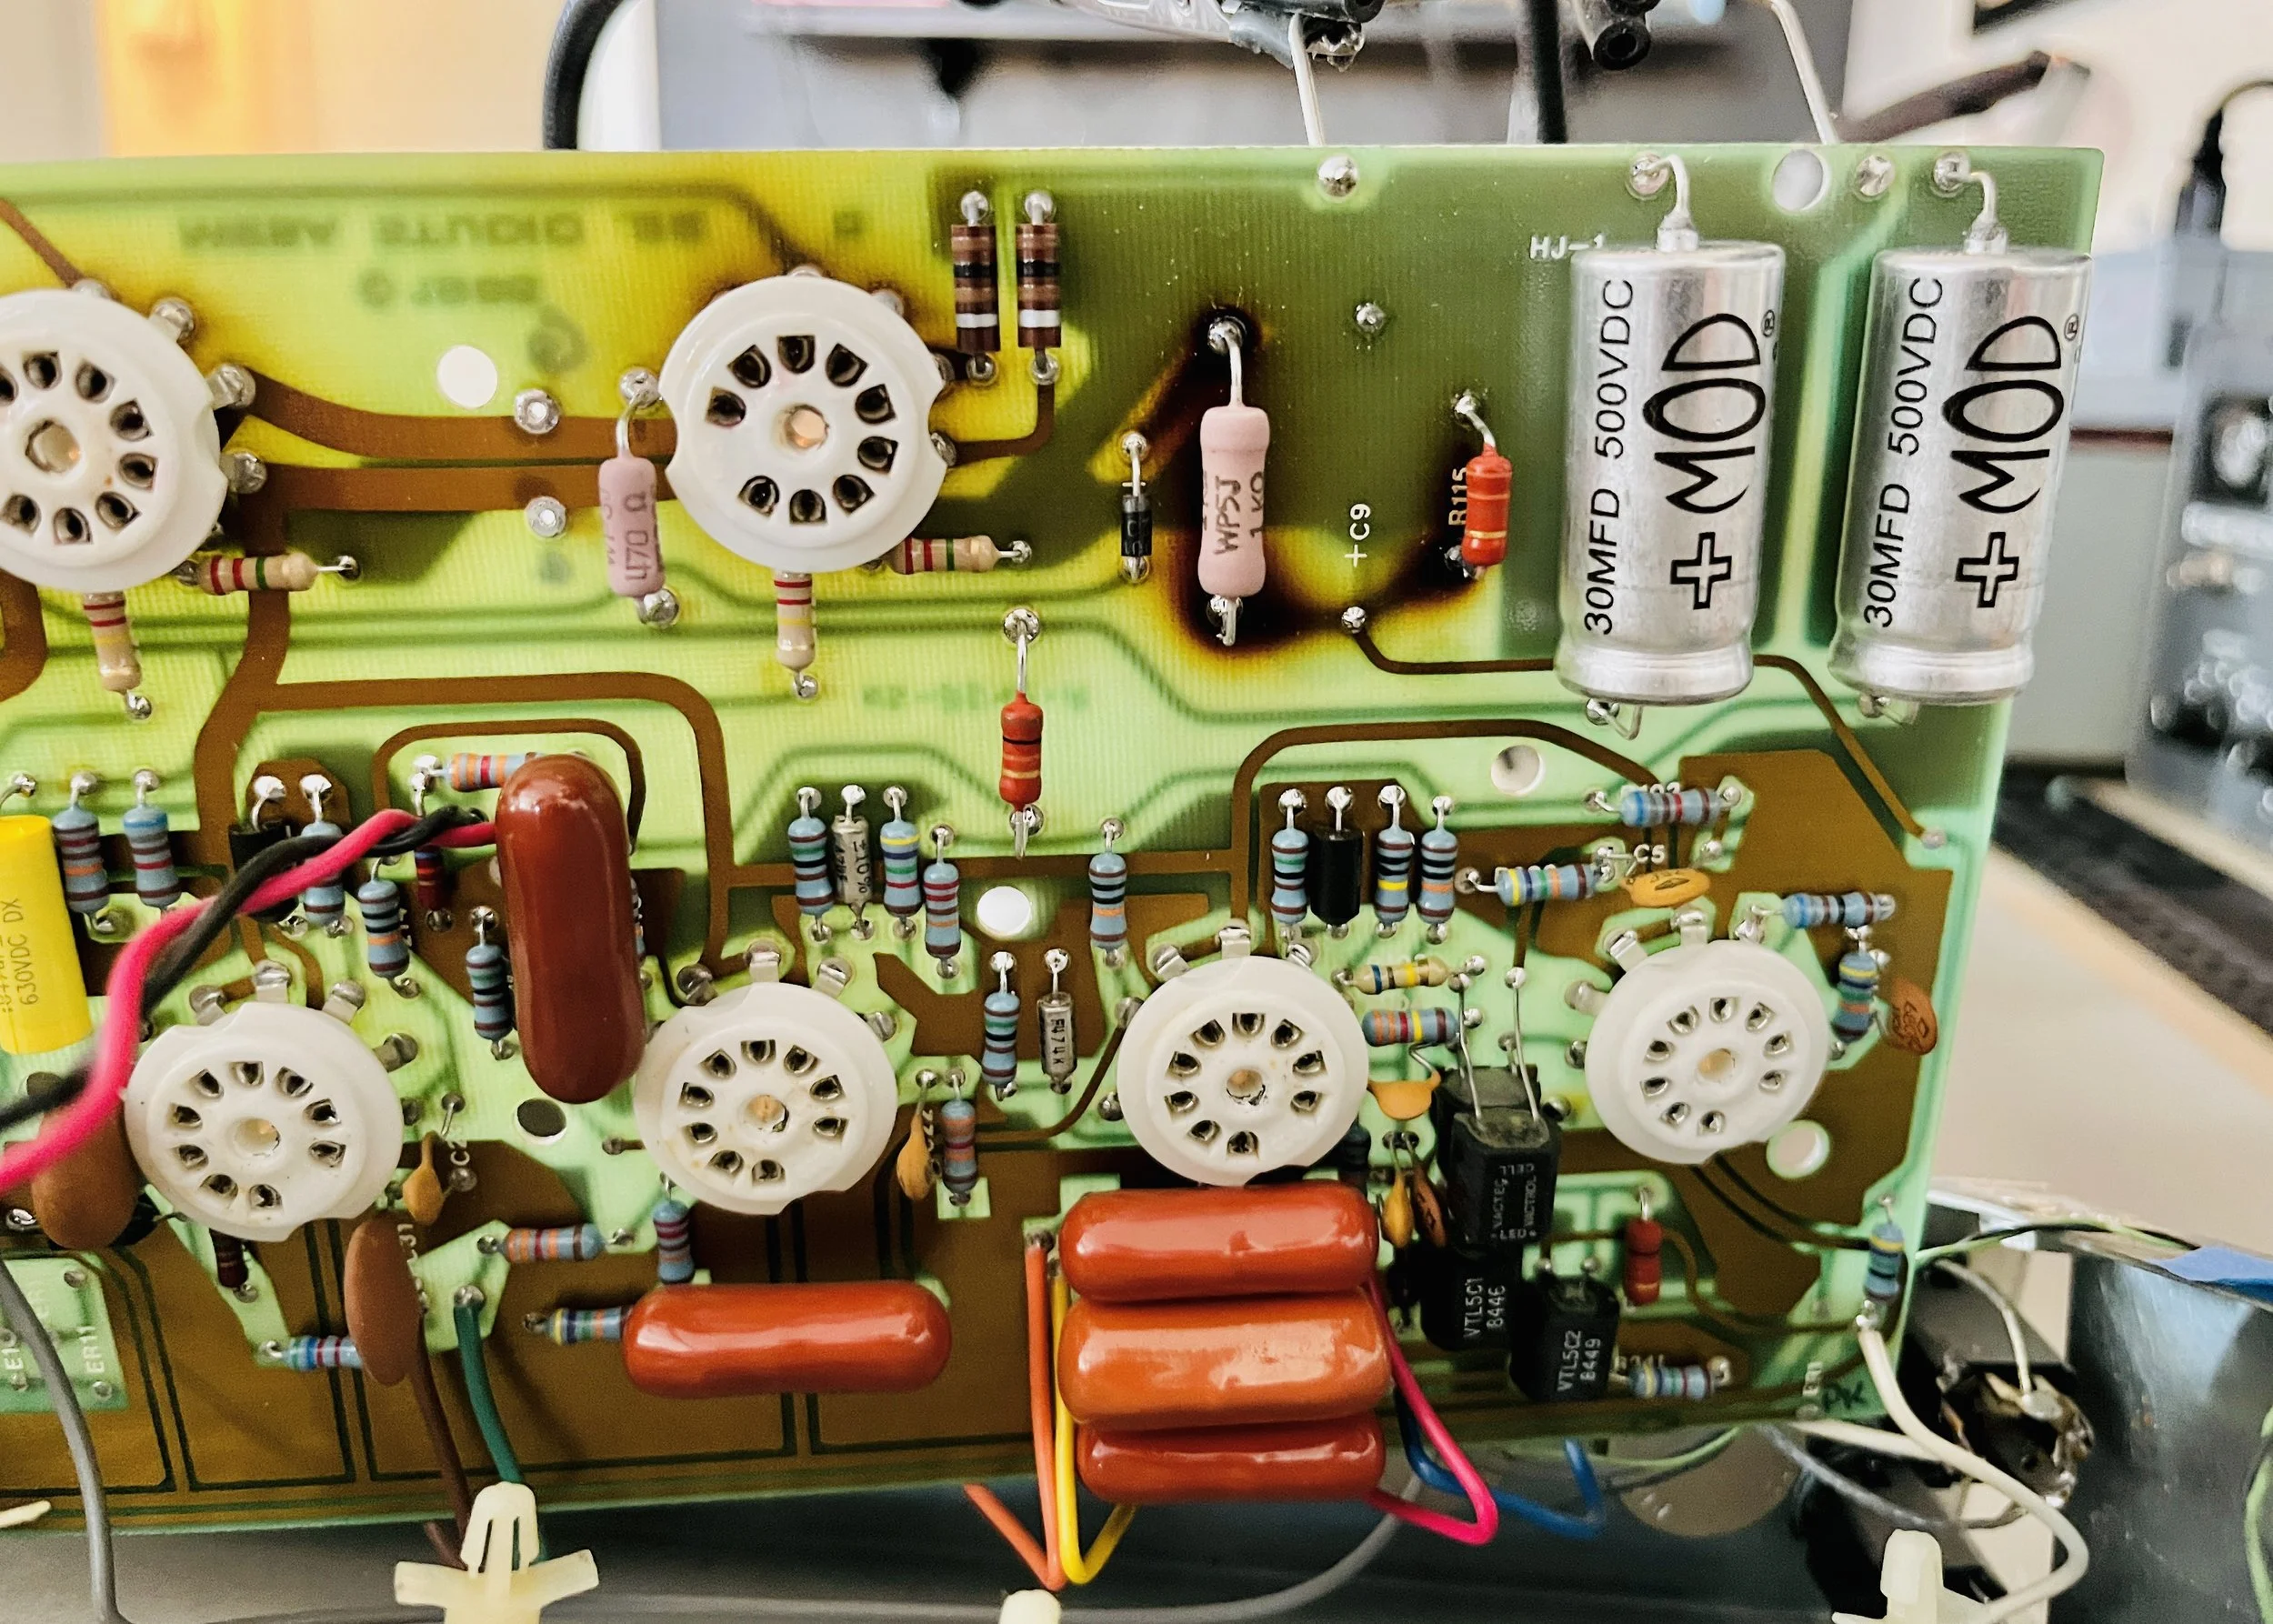
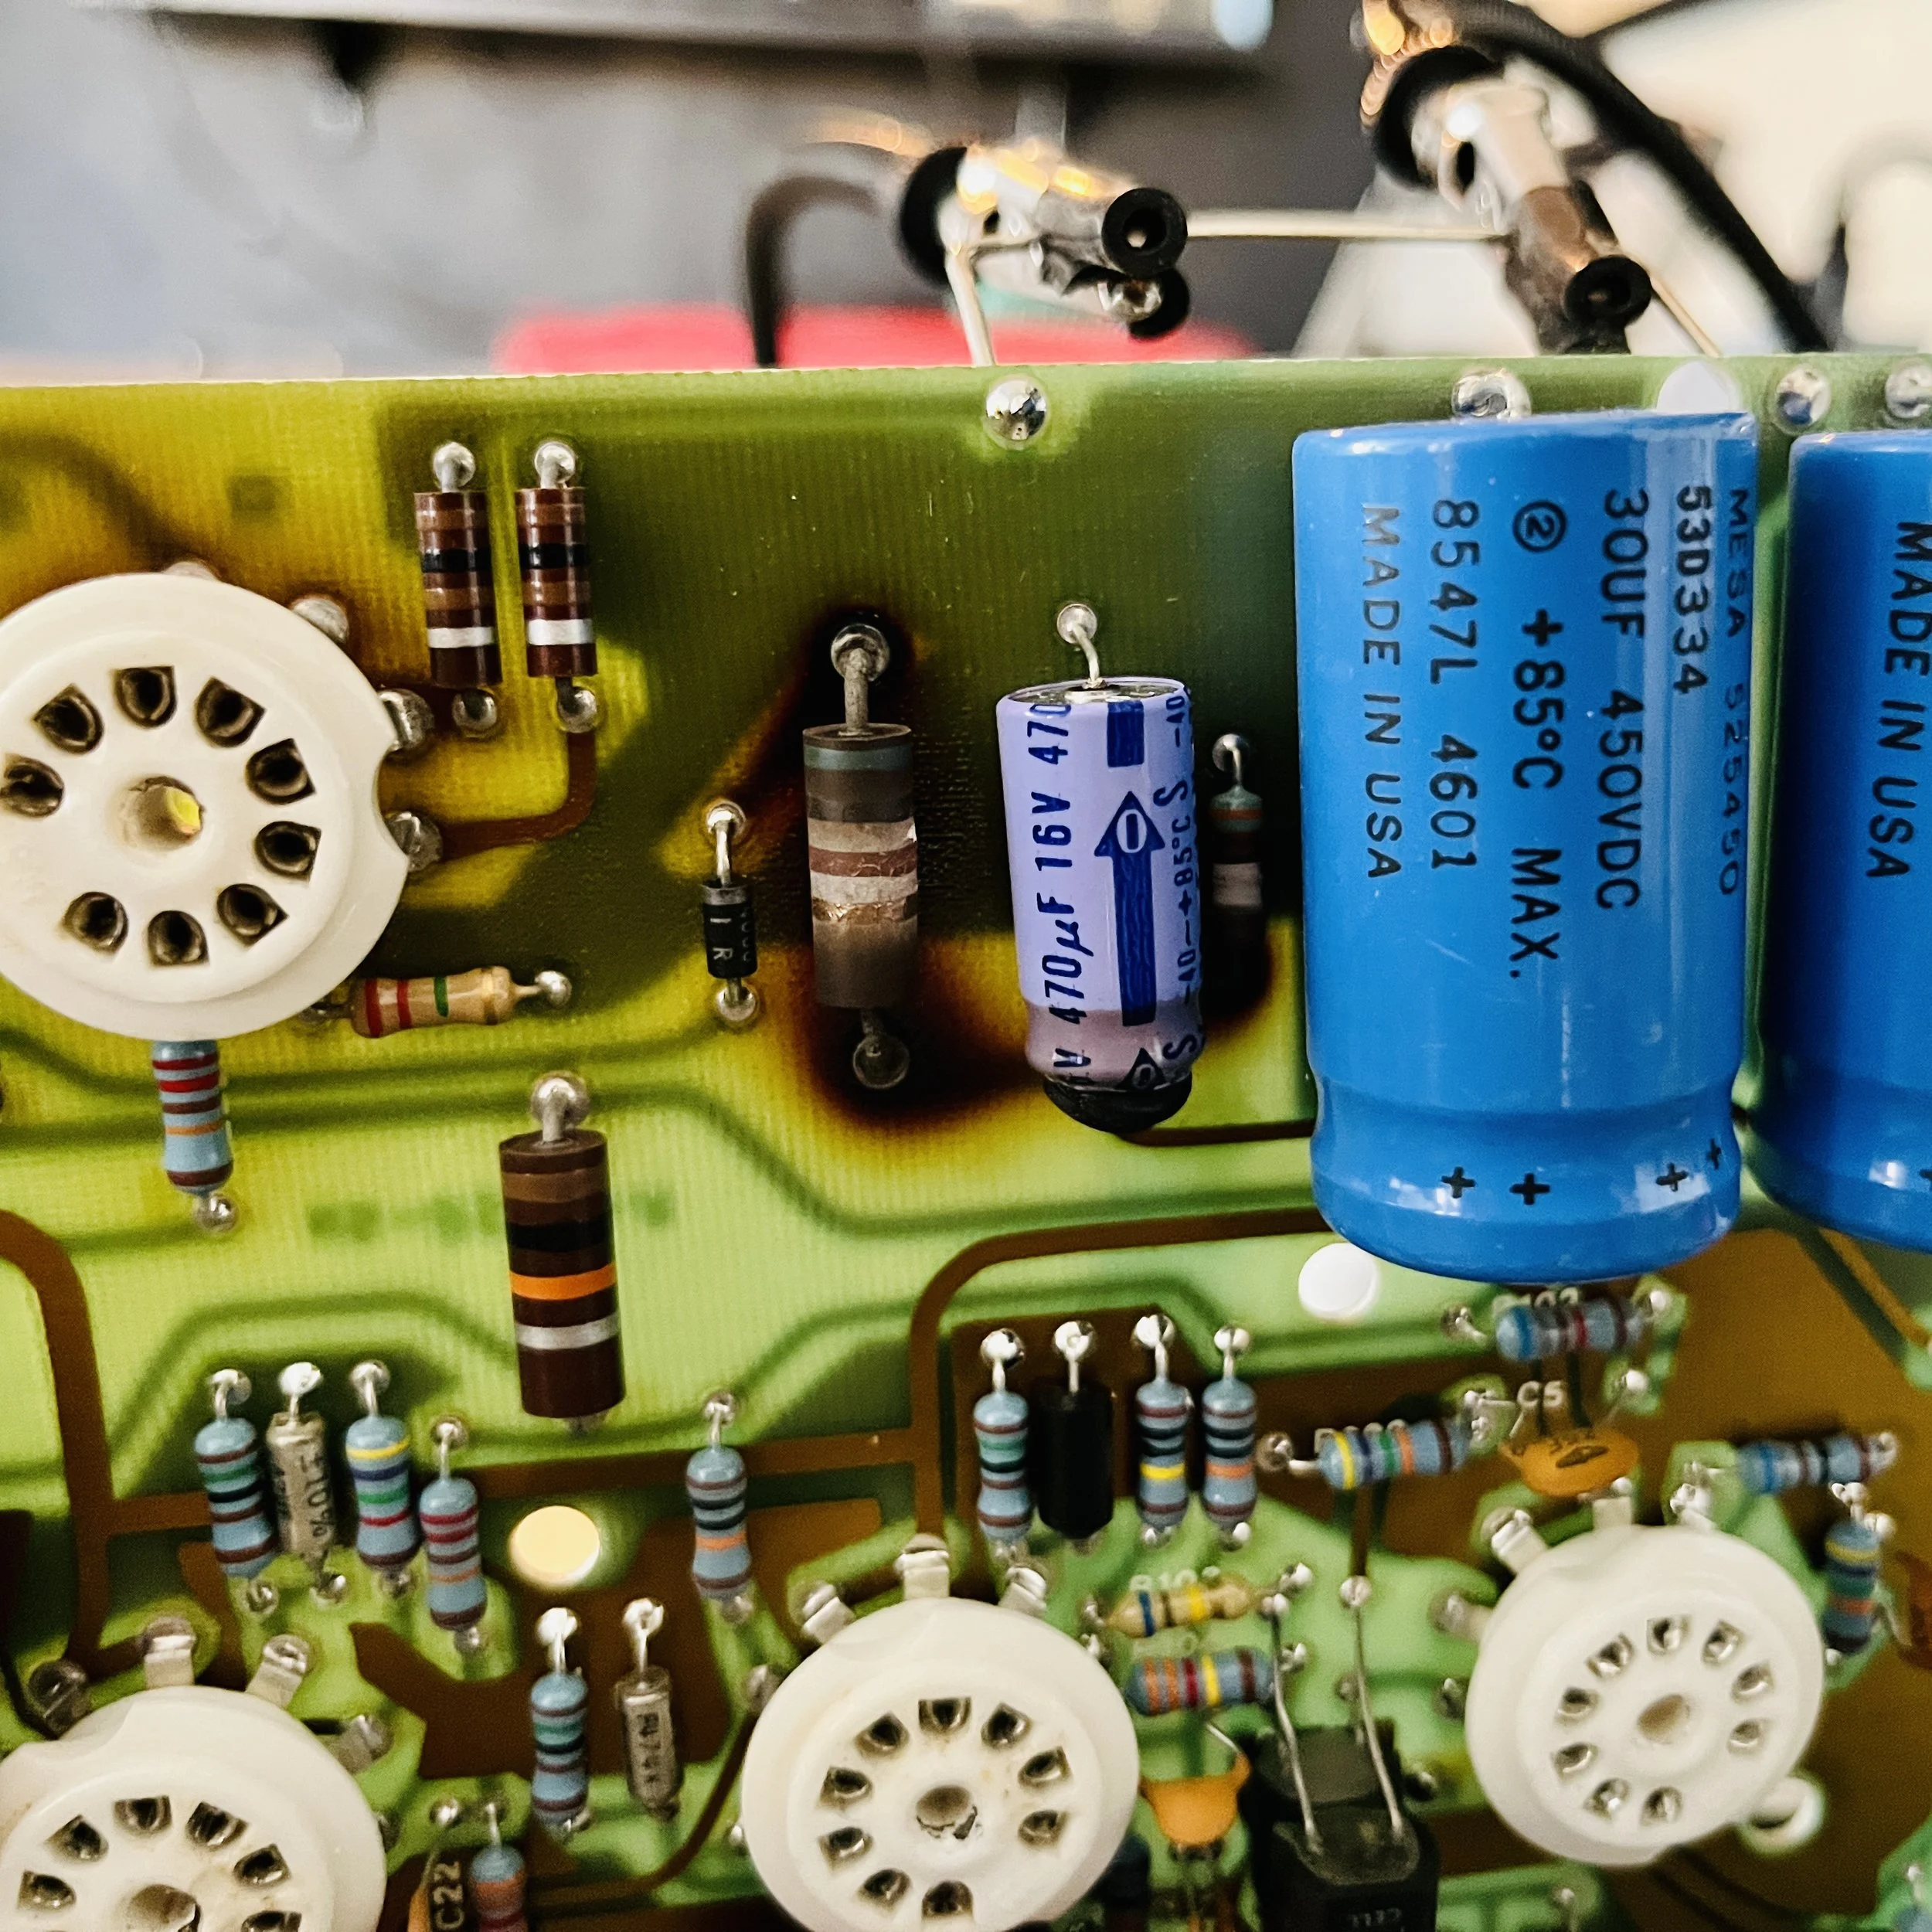
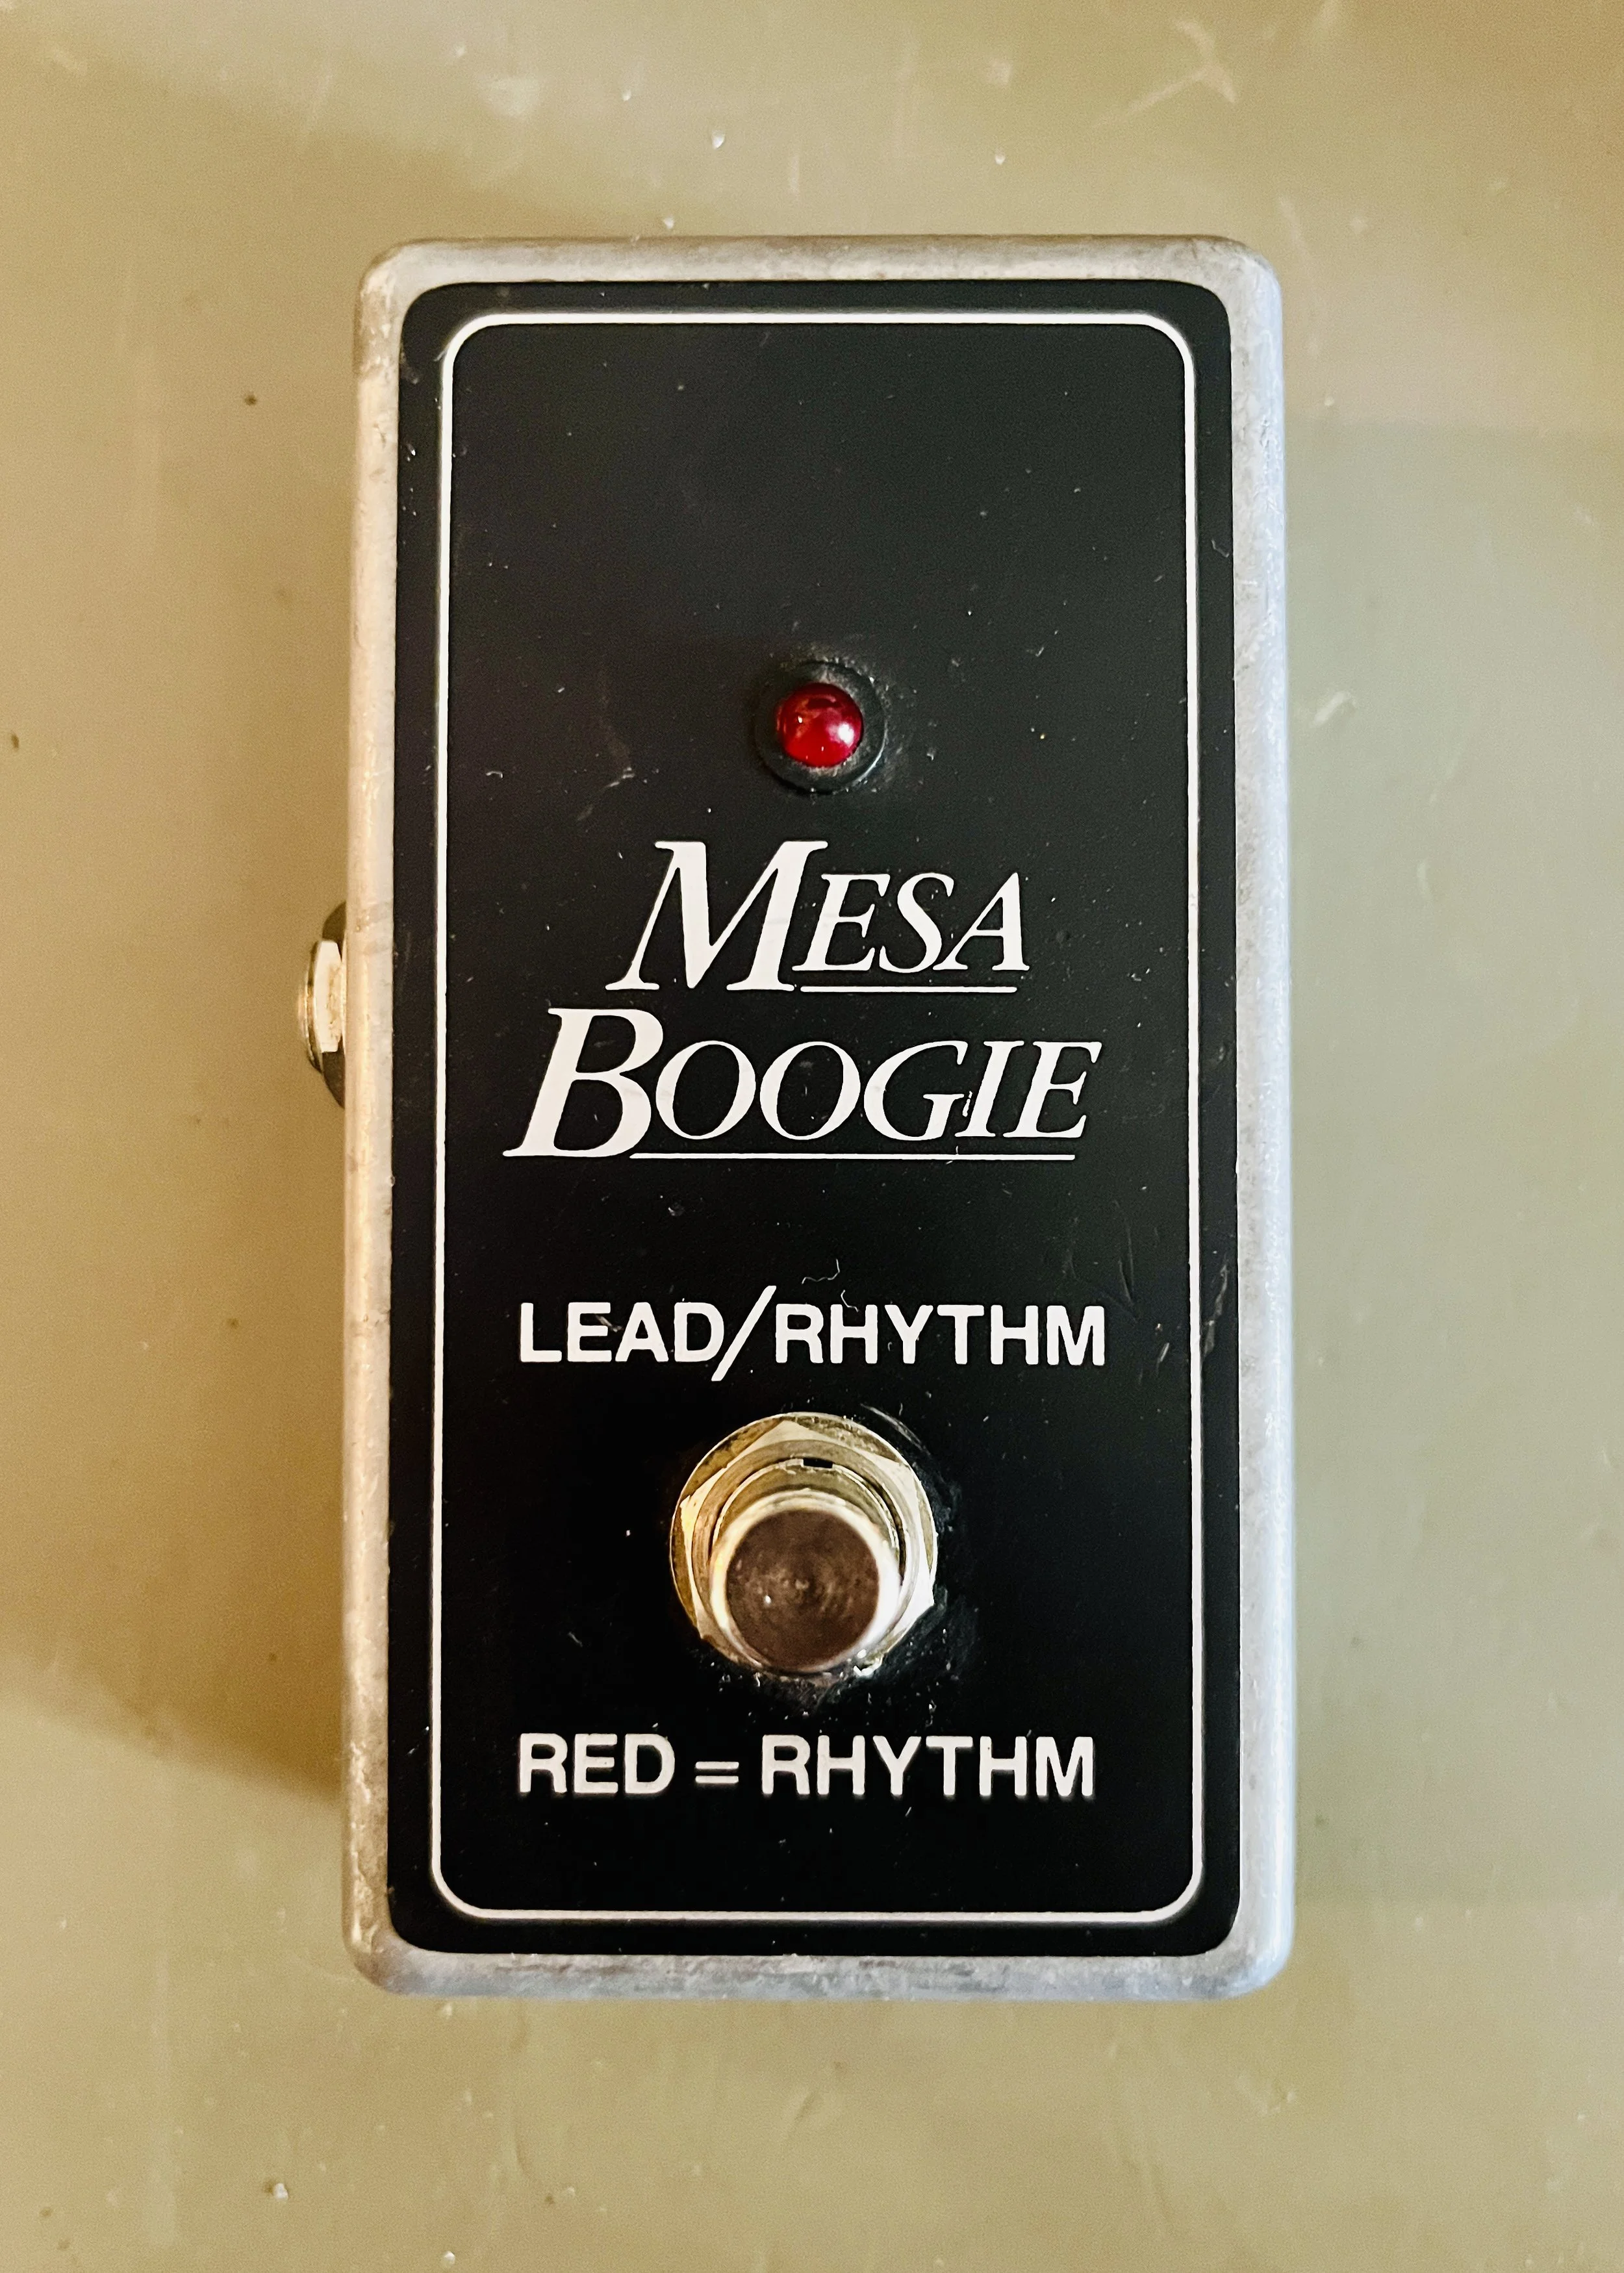
This amp came in to my shop in mostly original condition with the exception of one resistor which had been added to the phase inverter plate position - however this was not done with the correct value that the schematic contained. The foot-switch/channel switching circuit had gone up in flames - literally. The entire circuit needed to be rebuilt to Mesa Boogie's official service bulletin specs - they released that a few years later when they came out with the .22+ and saw how many .22 amps came back with blown FS circuits. Other than that this one needed a standard restoration including an electrolytic cap job, new power/screen/misc resistors, coupling cap replacement, new tubes, and cleaning.
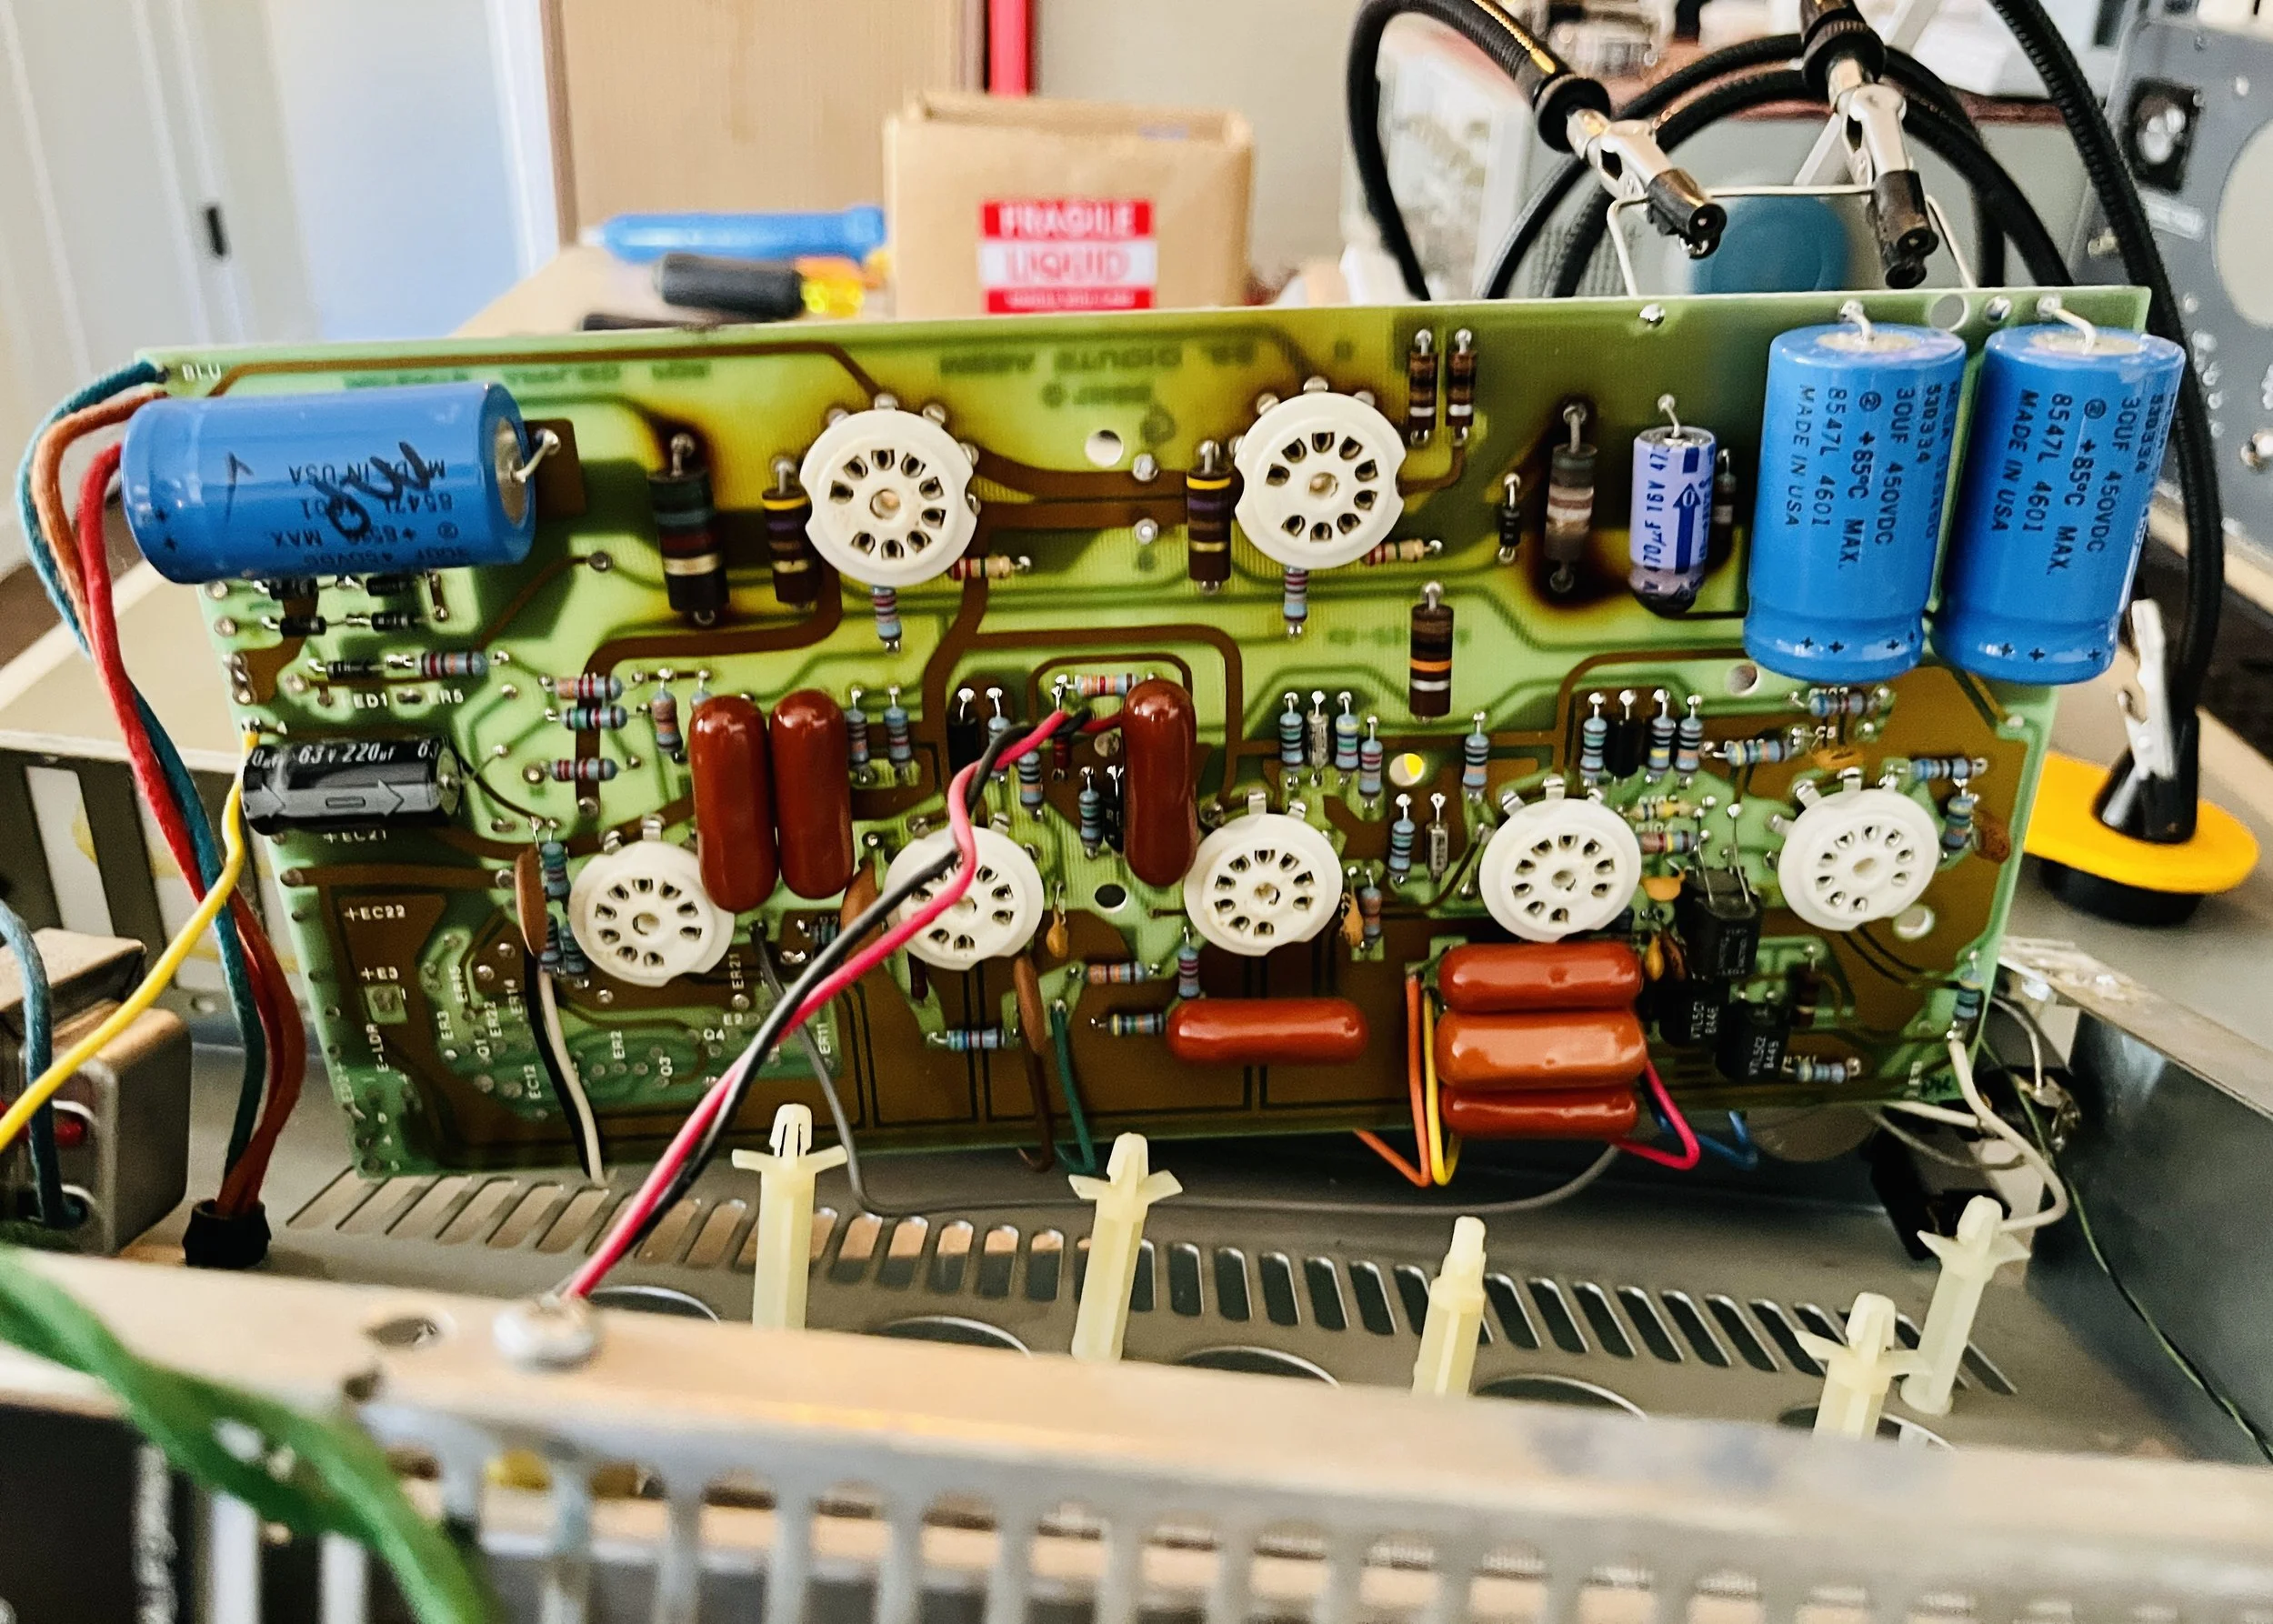
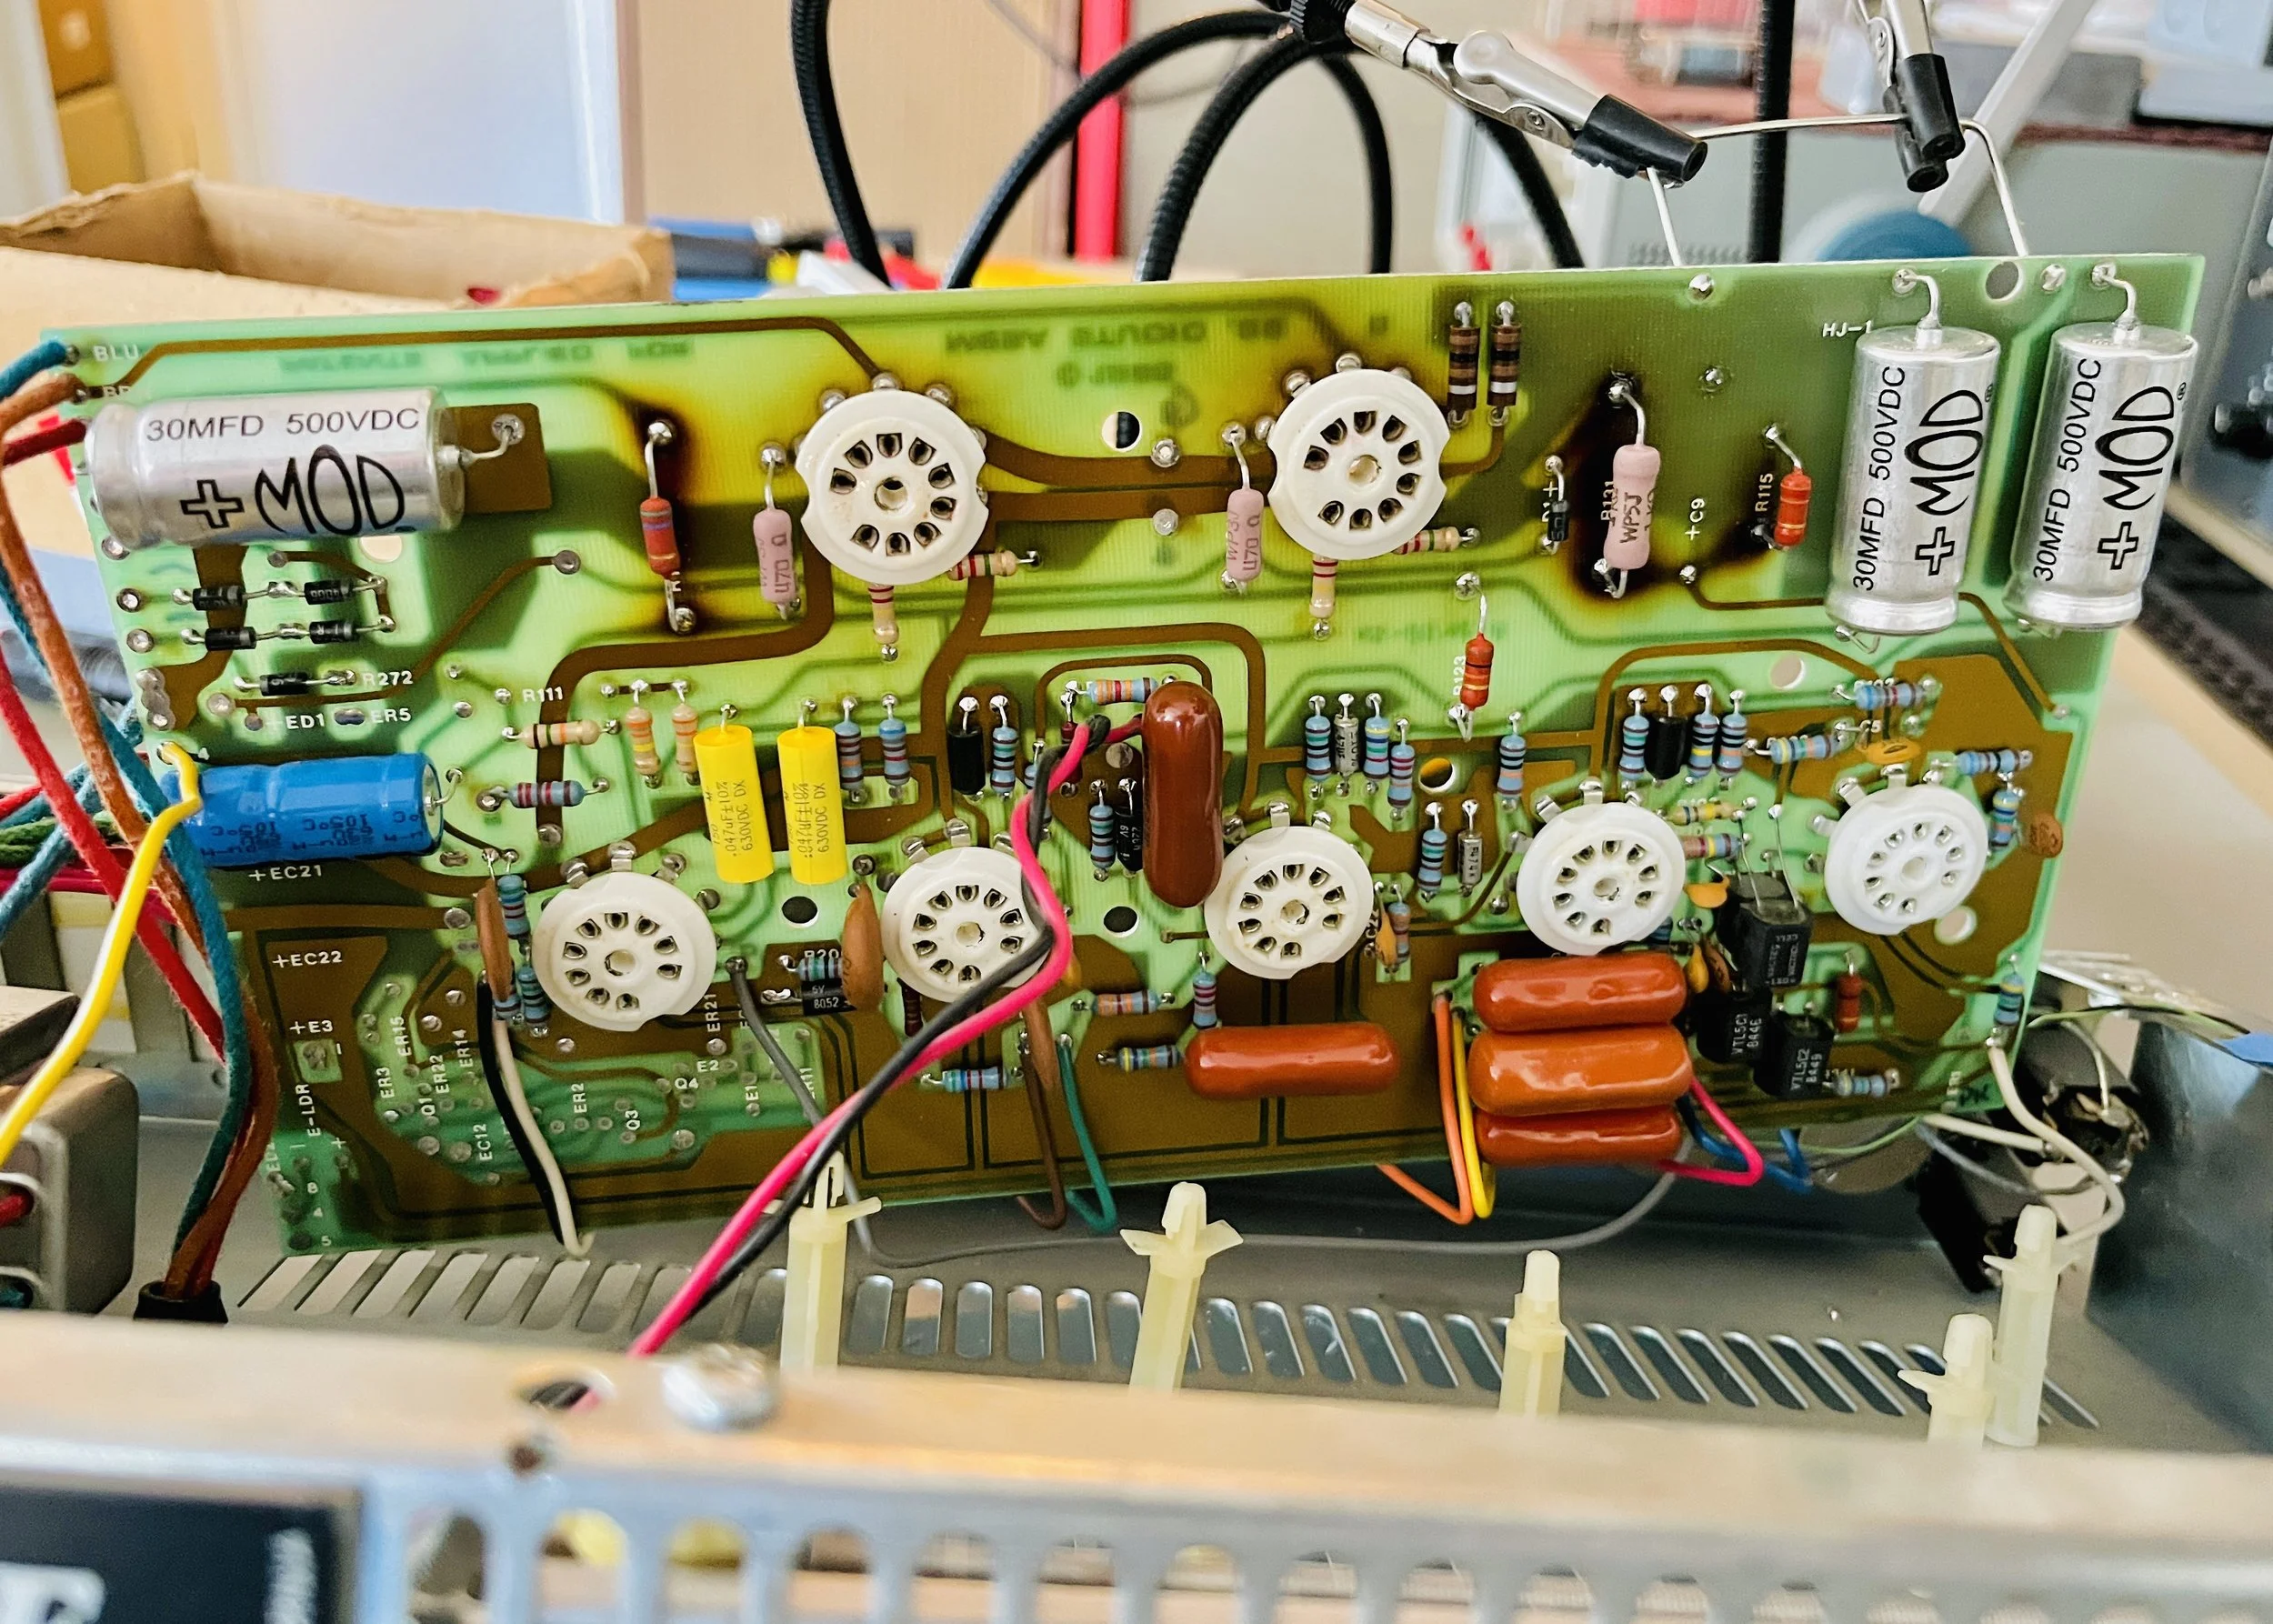
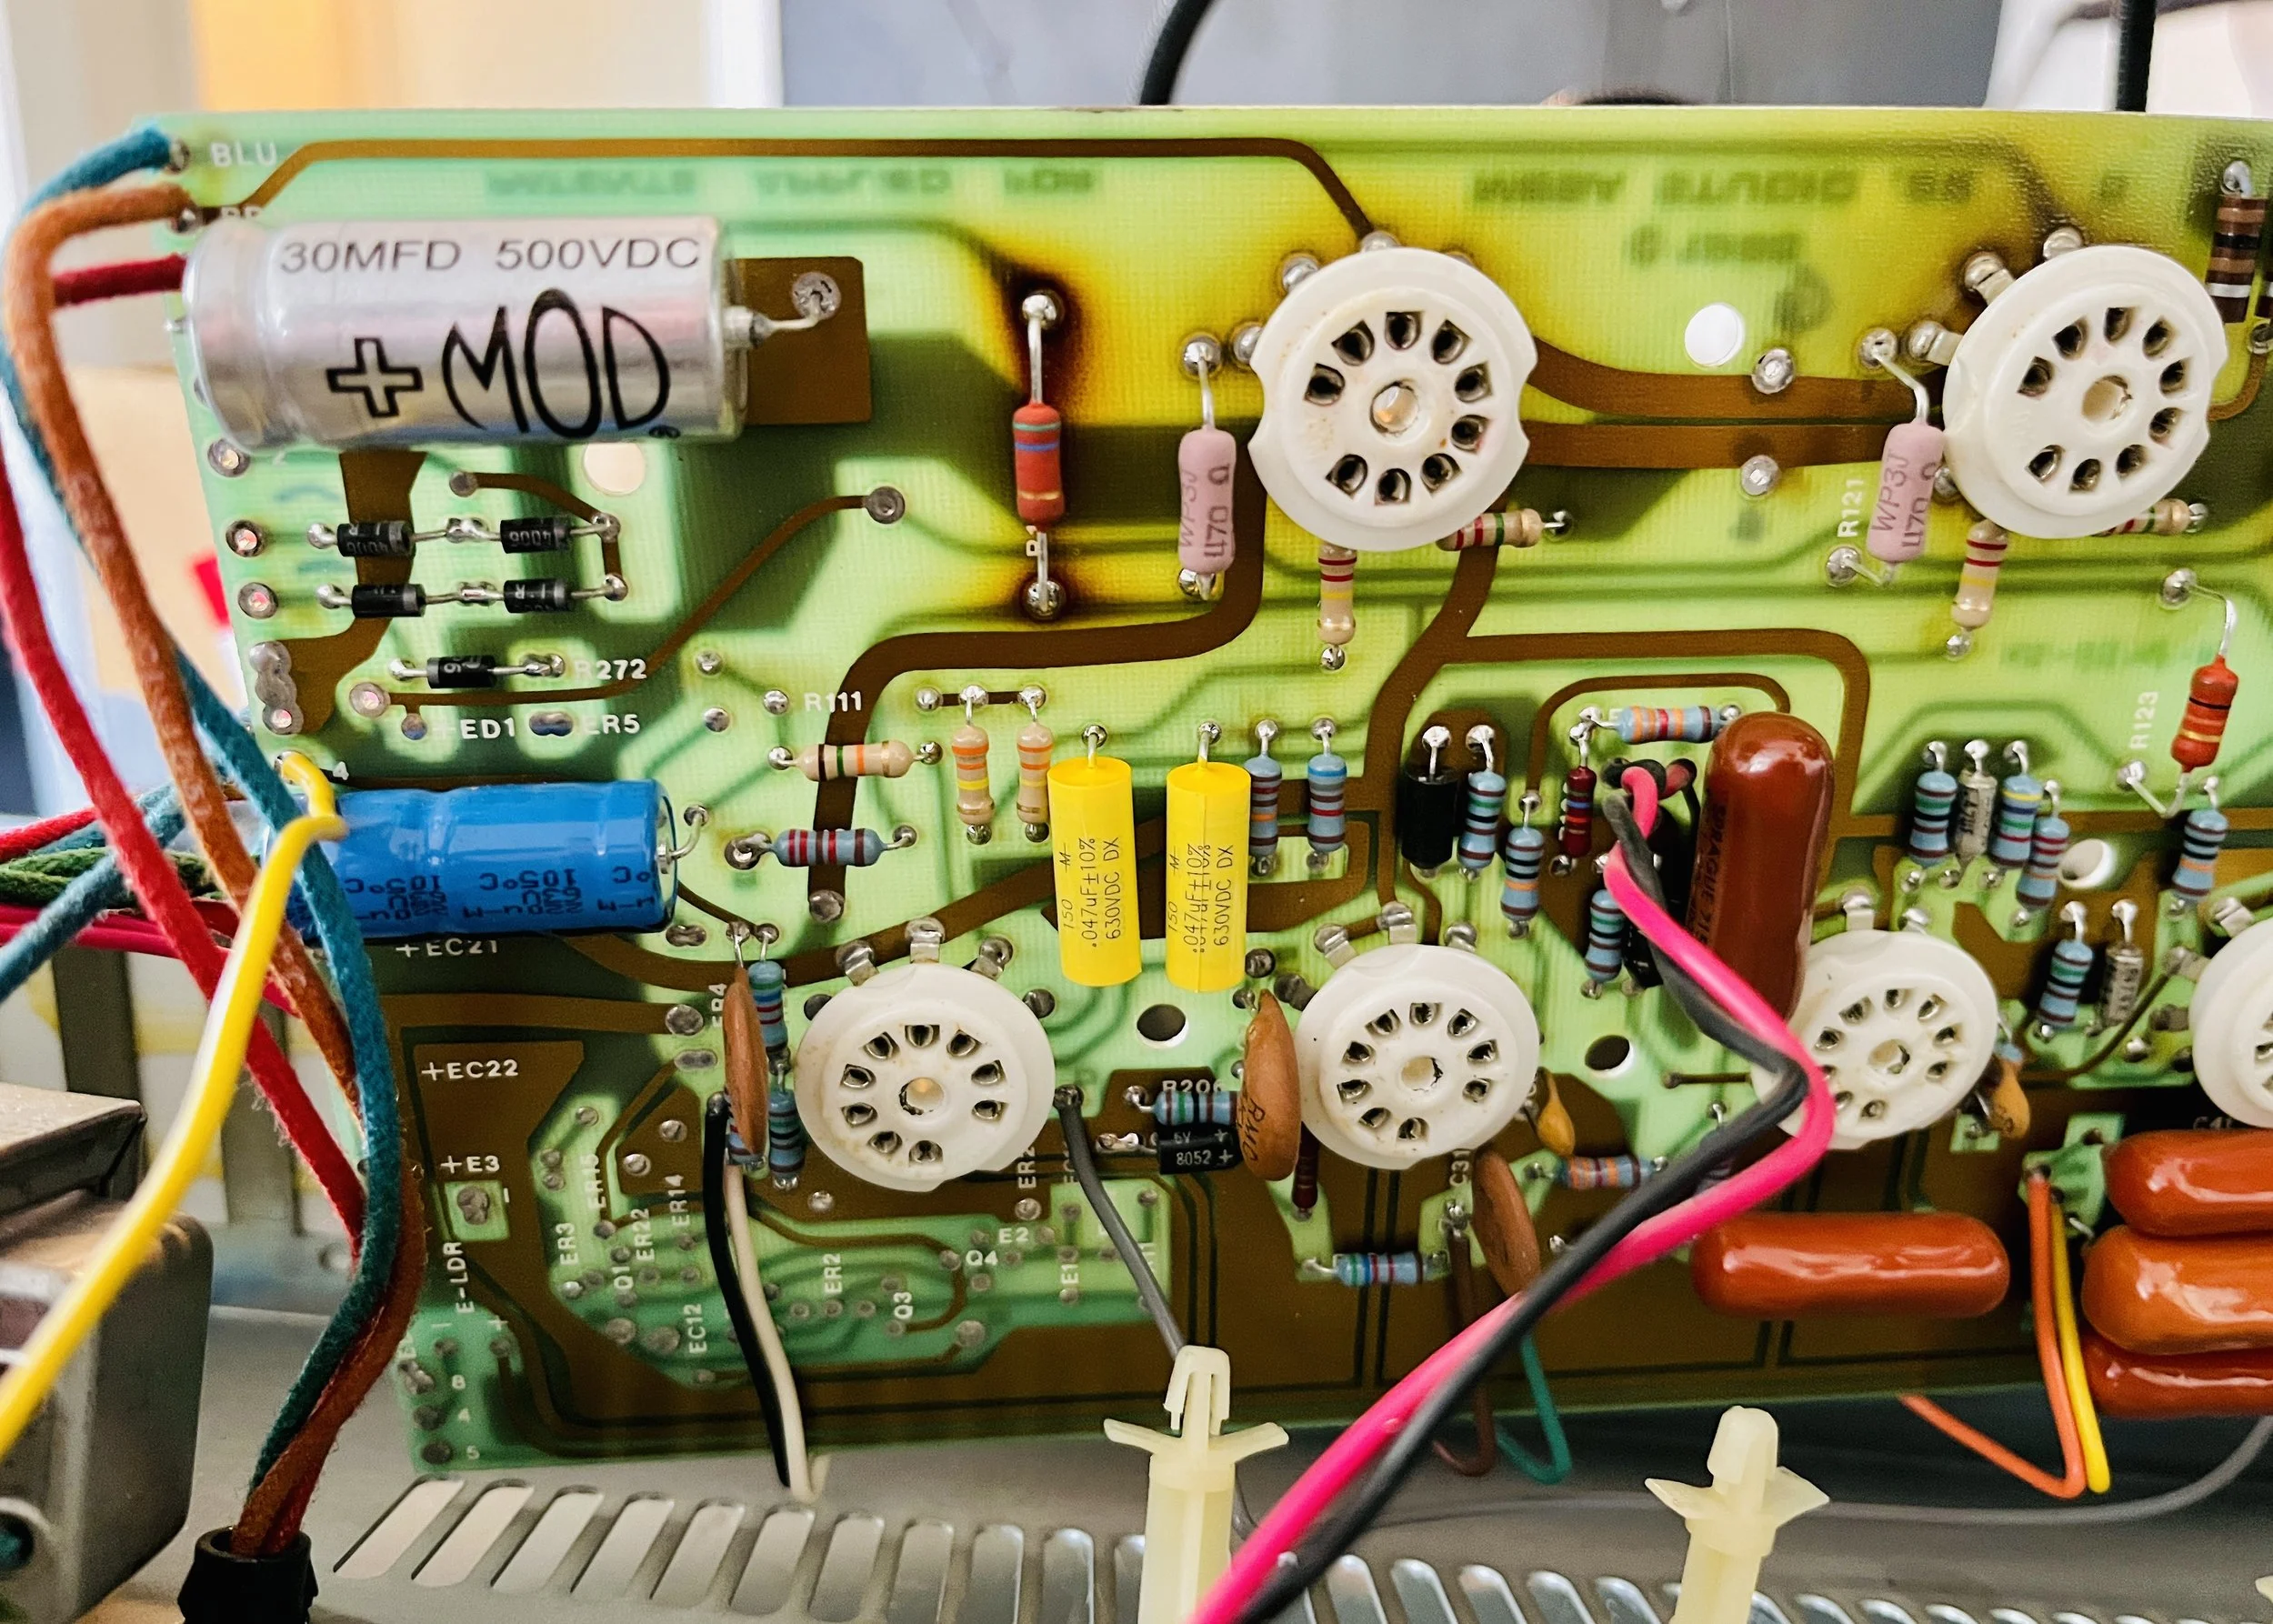
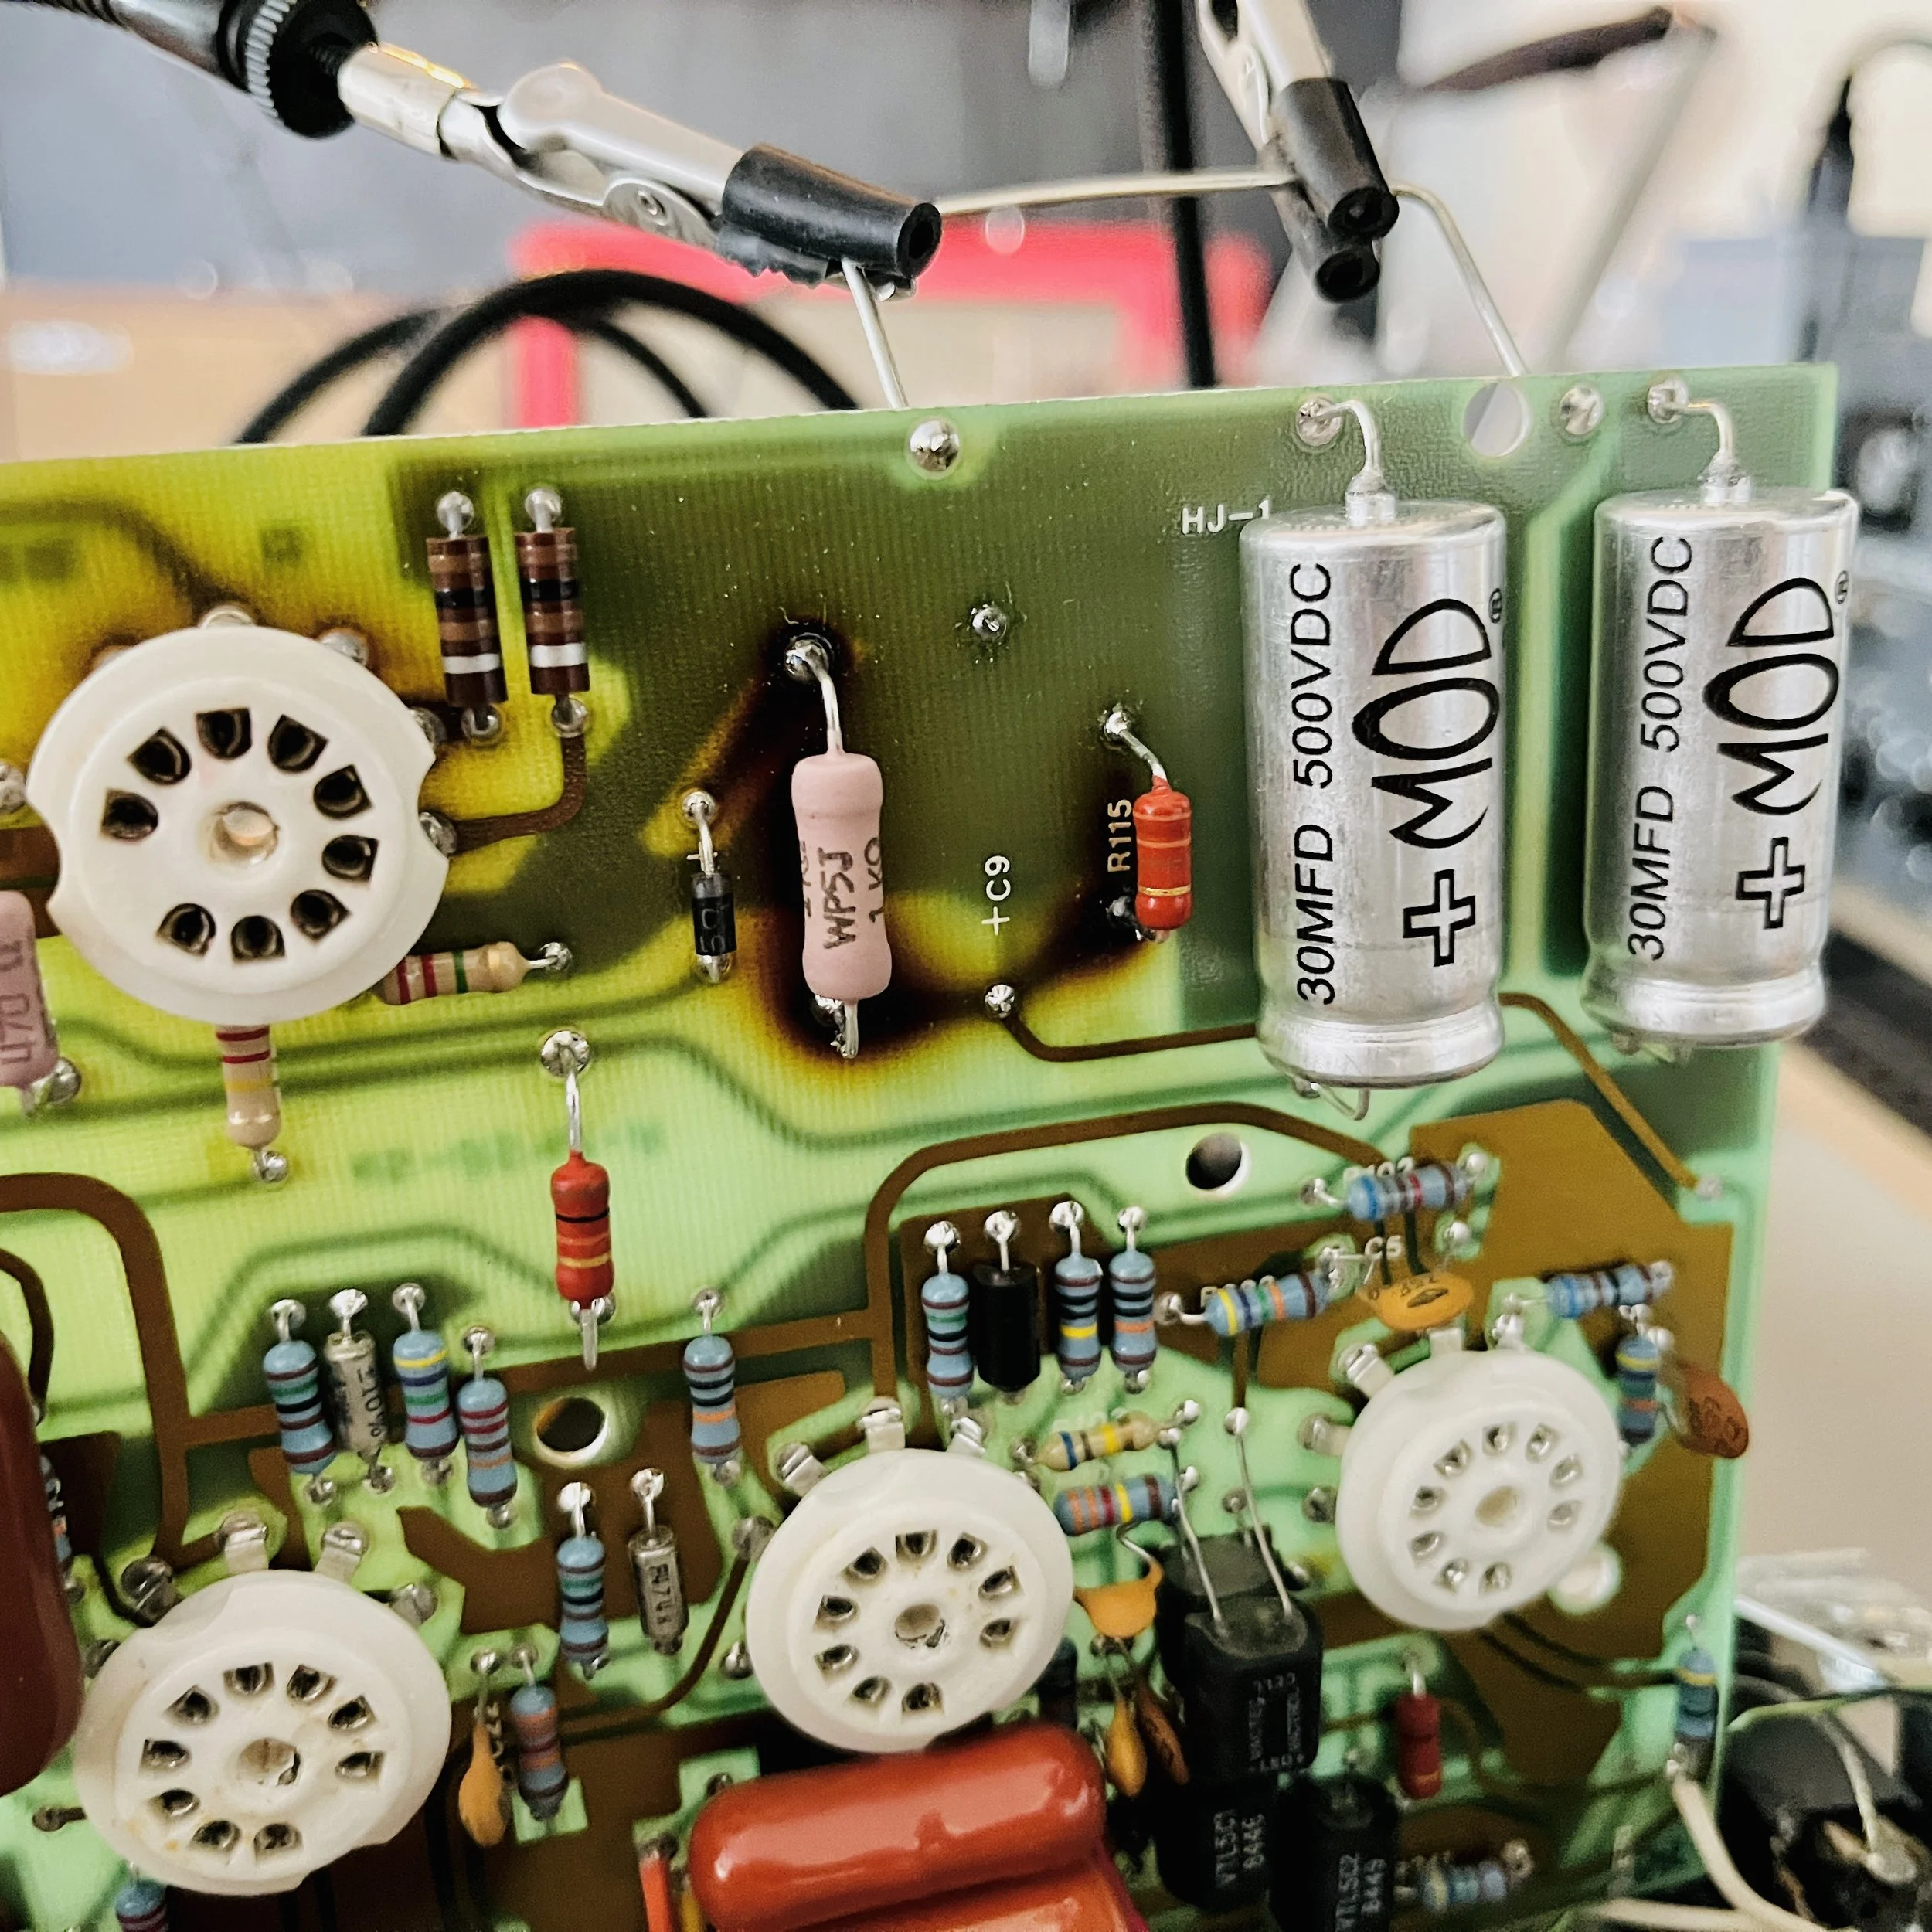
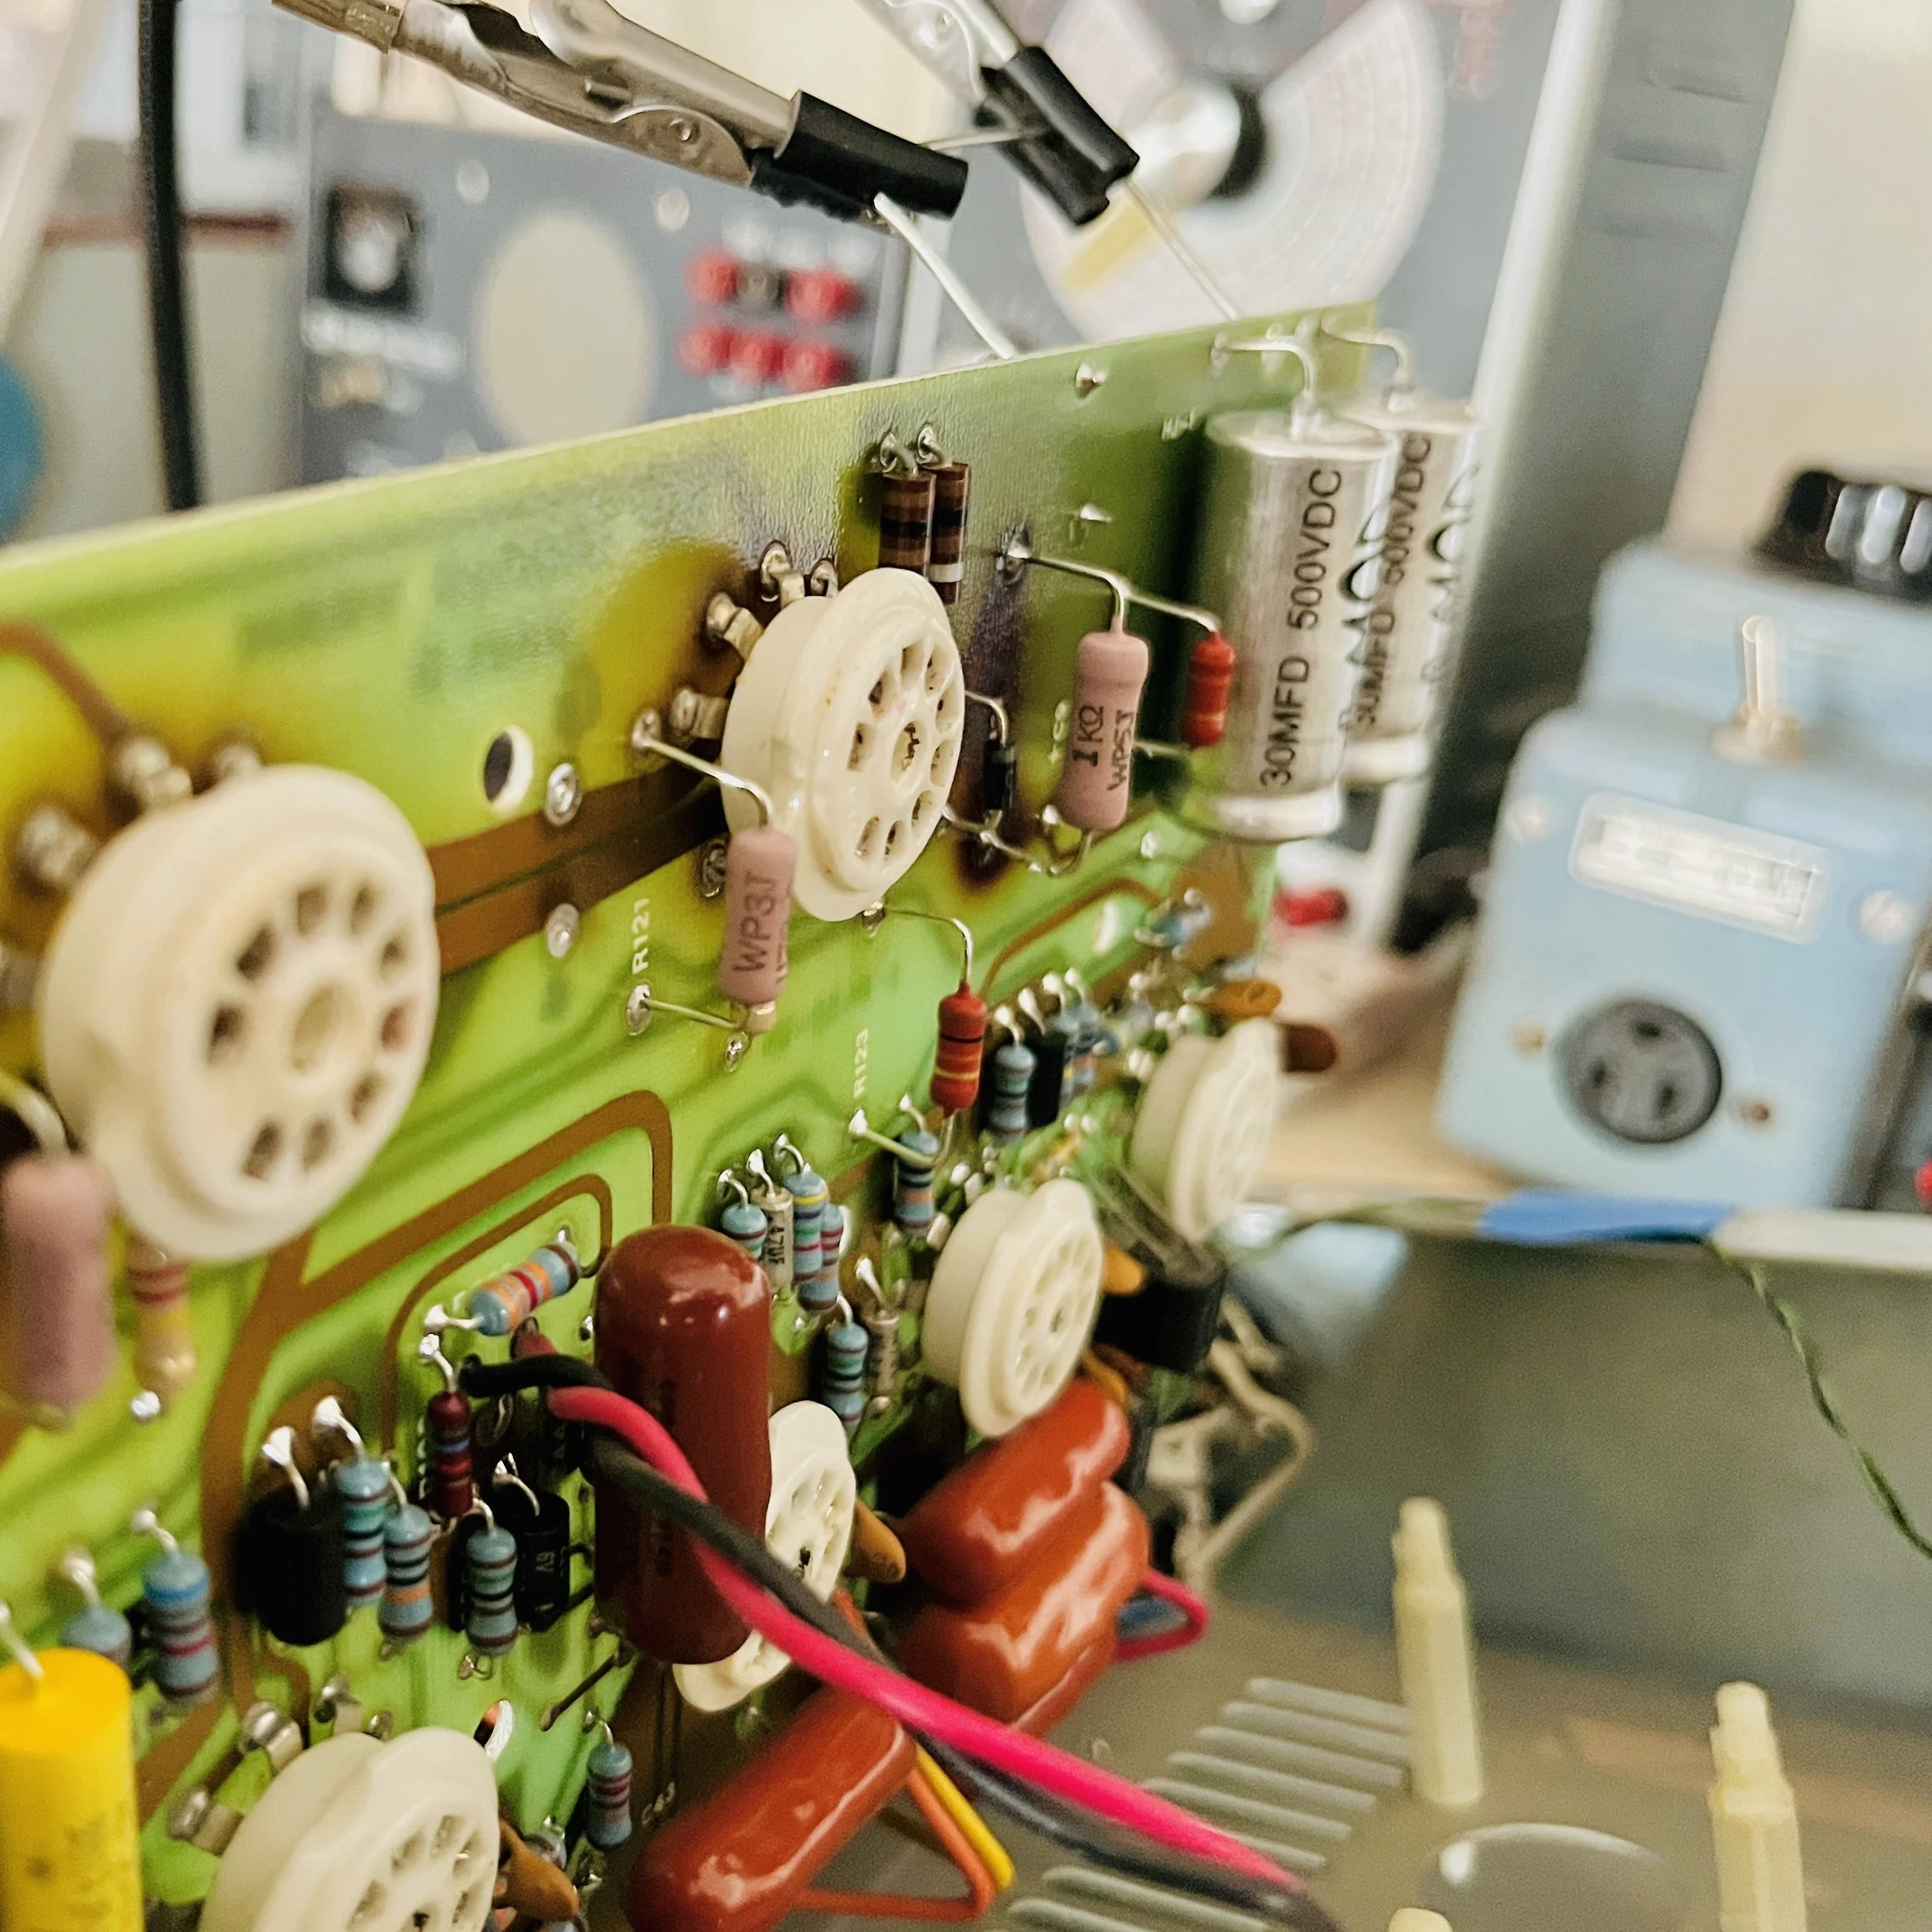
Amp was completely restored. All filter/bias caps were replaced with upgraded voltage and temperature rated MOD/Vishay/Rubycon brand electrolytics. New 2 Watt Reduced Mass Metal Film power dropping resistors were installed for better reliability and lower noise floor - the originals were badly heat damaged. All screen resistors were replaced with 3 Watt Cement 470 ohm type units for same reasoning. The coupling caps from the phase inverter to the power tubes had failed and were leaking positive voltage onto the grids. This caused the power tubes to red-plate, one of the EL84's was at 200% plate dissipation. They were replaced with Mallory 150 series film capacitors.
All resistors in the bias circuit and resistors going from the bias circuit to the power tubes were replaced with 1/2 Watt Carbon film type units due to damage from failed coupling caps and excessive power tube dissipation. Rebuilding the bias circuit included replacing the half wave rectifier diode with an upgraded 1N4007 1A 1000V unit. While there I adjusted the resistor value that determined the power tubes fixed bias, as the factory value made for an extremely hot amp that was not safe for the PCB (which the tube sockets are mounted to directly) or for the tubes themselves. Because the phase inverter's cathode bias is also directly tapped from the power tube's fixed bias circuit (very unusual) it could only be lowered so much without making the phase inverters cathode bias to hot. This resistor was upgraded to a 2 Watt Reduced Mass Metal Film unit as it was dropping a lot of voltage. The two resistors that decide the bias voltage were intentionally placed on the back of the PCB. This is so the bias can be adjusted much more easily down the line when new power tubes are needed, without having to remove the entire PCB, which is not easy on this amp. This is not something I usually do as it is mostly a red flag I see from techs that did not want to do the work of taking the PCB out to put in parts correctly - in this case the money it would cost to do tube changes and appropriate bias adjustment does not make sense if you have to remove the PCB.
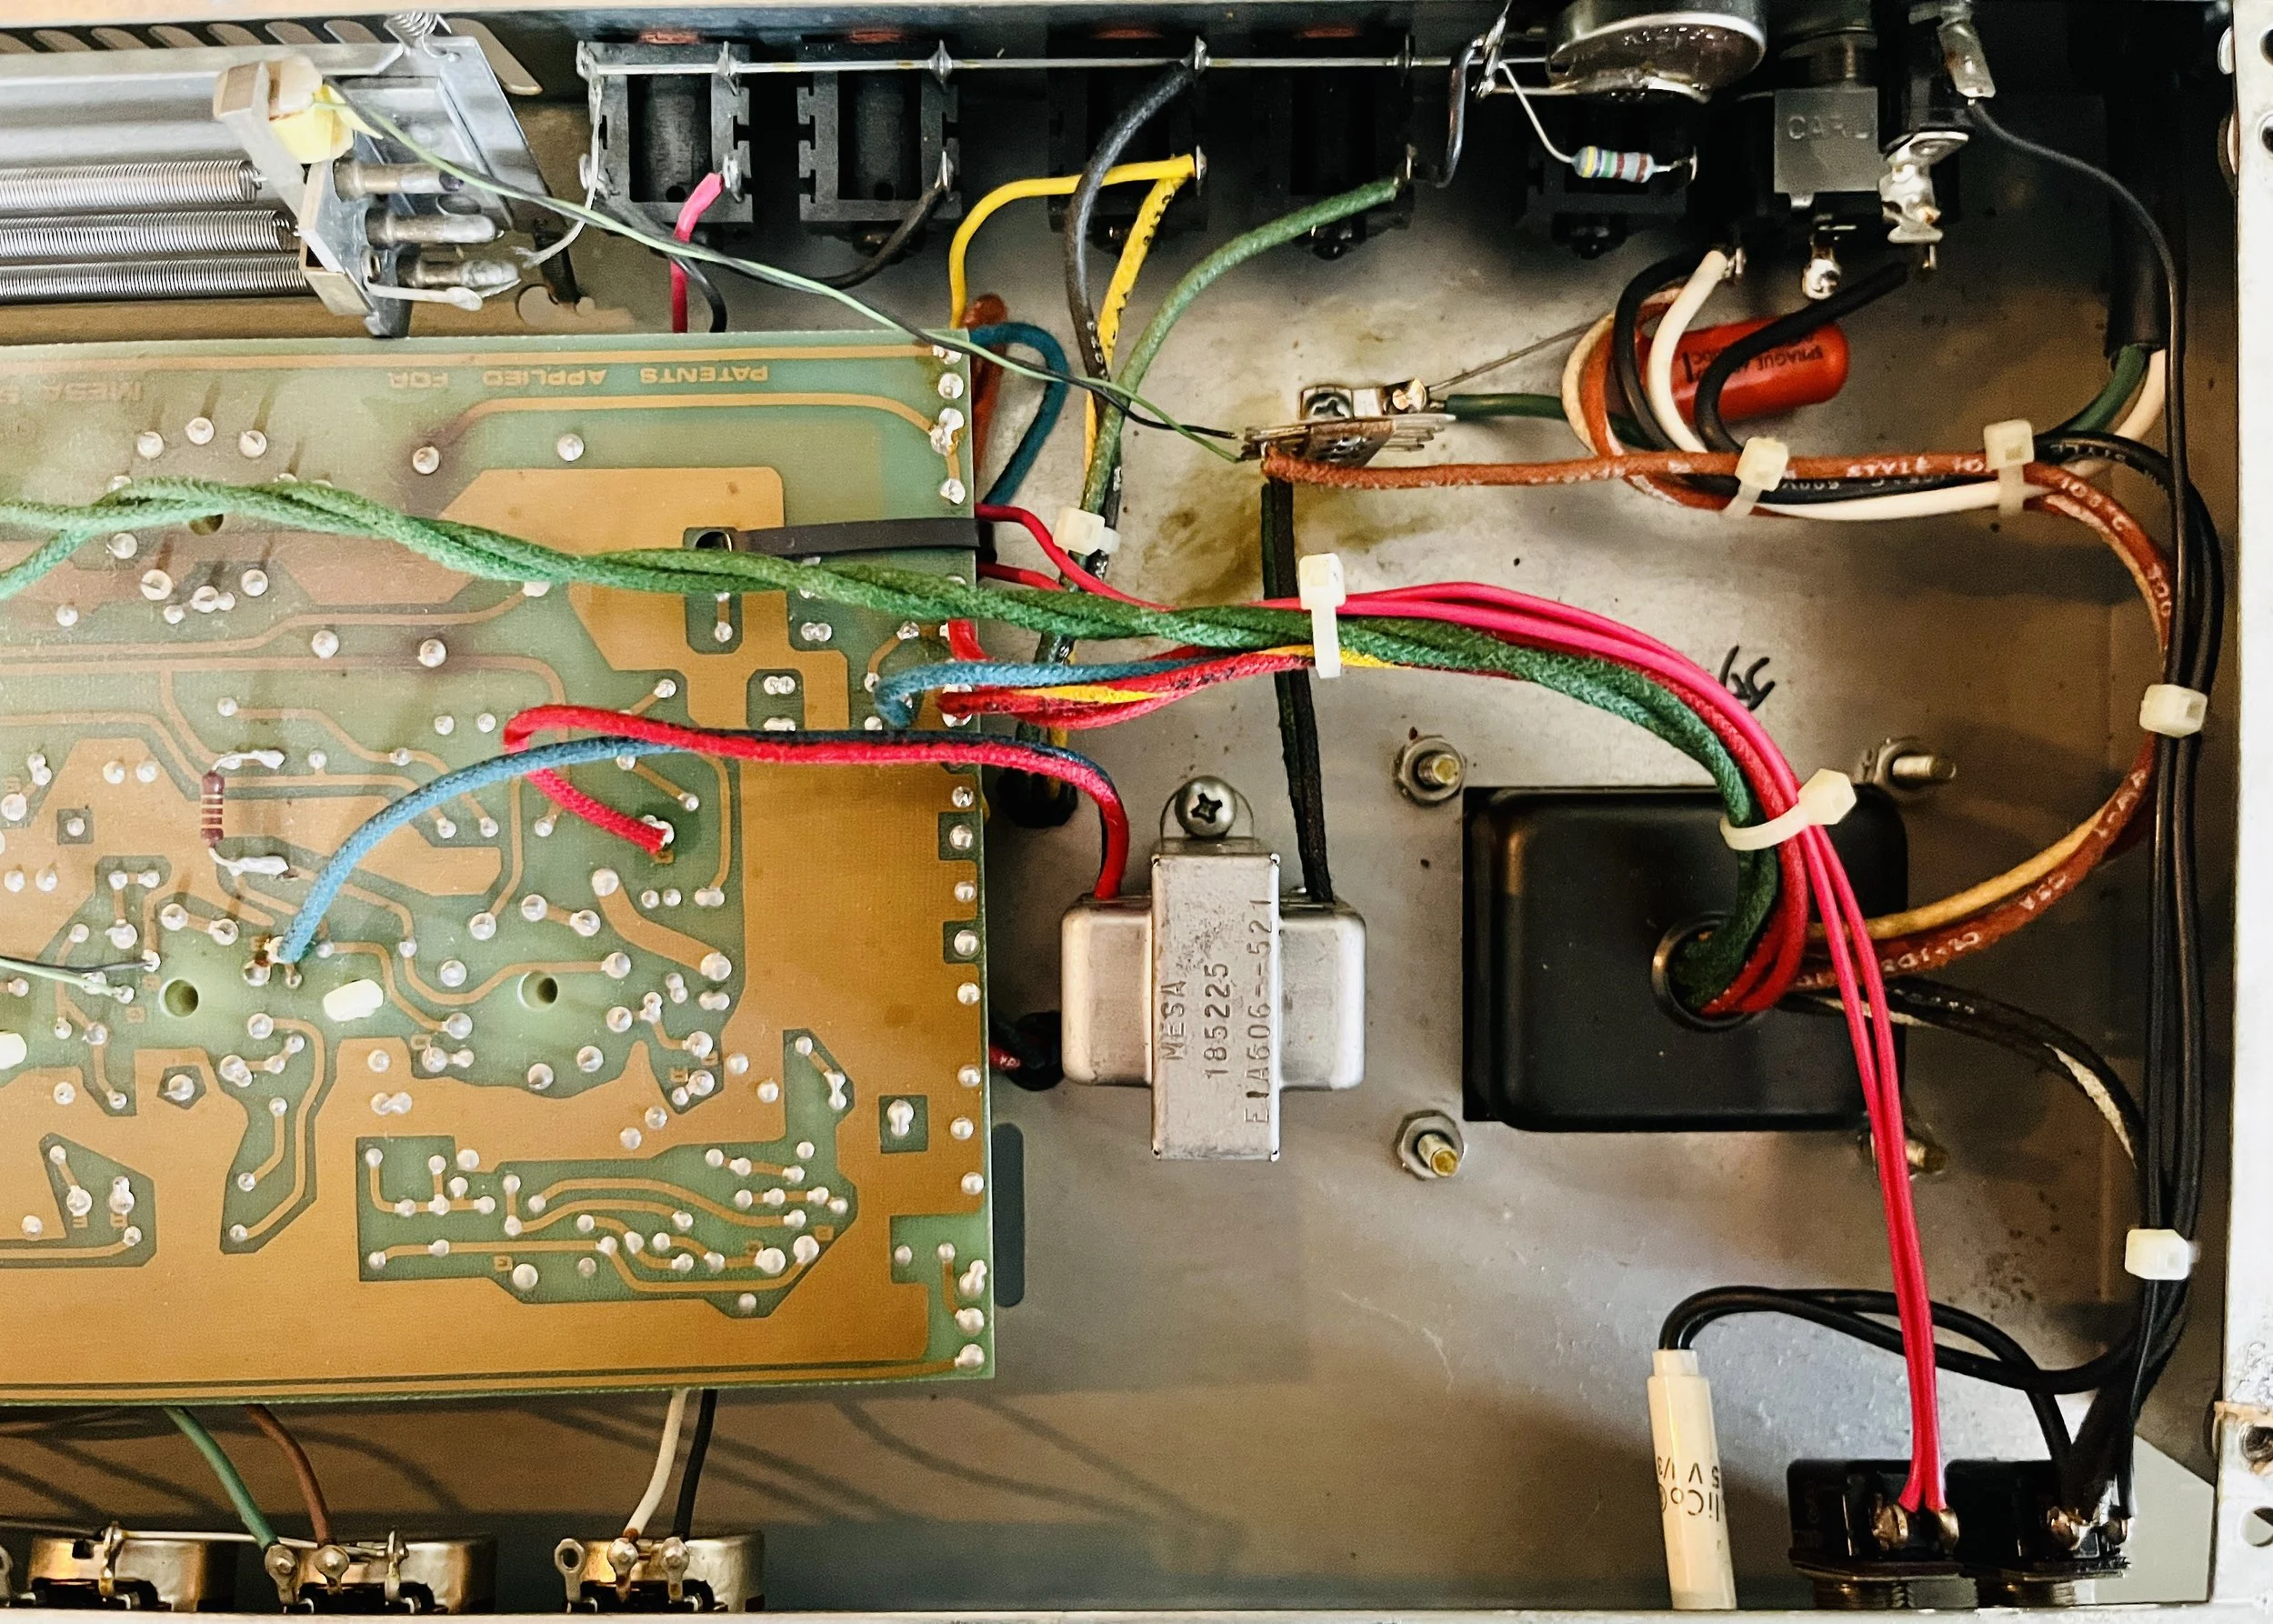
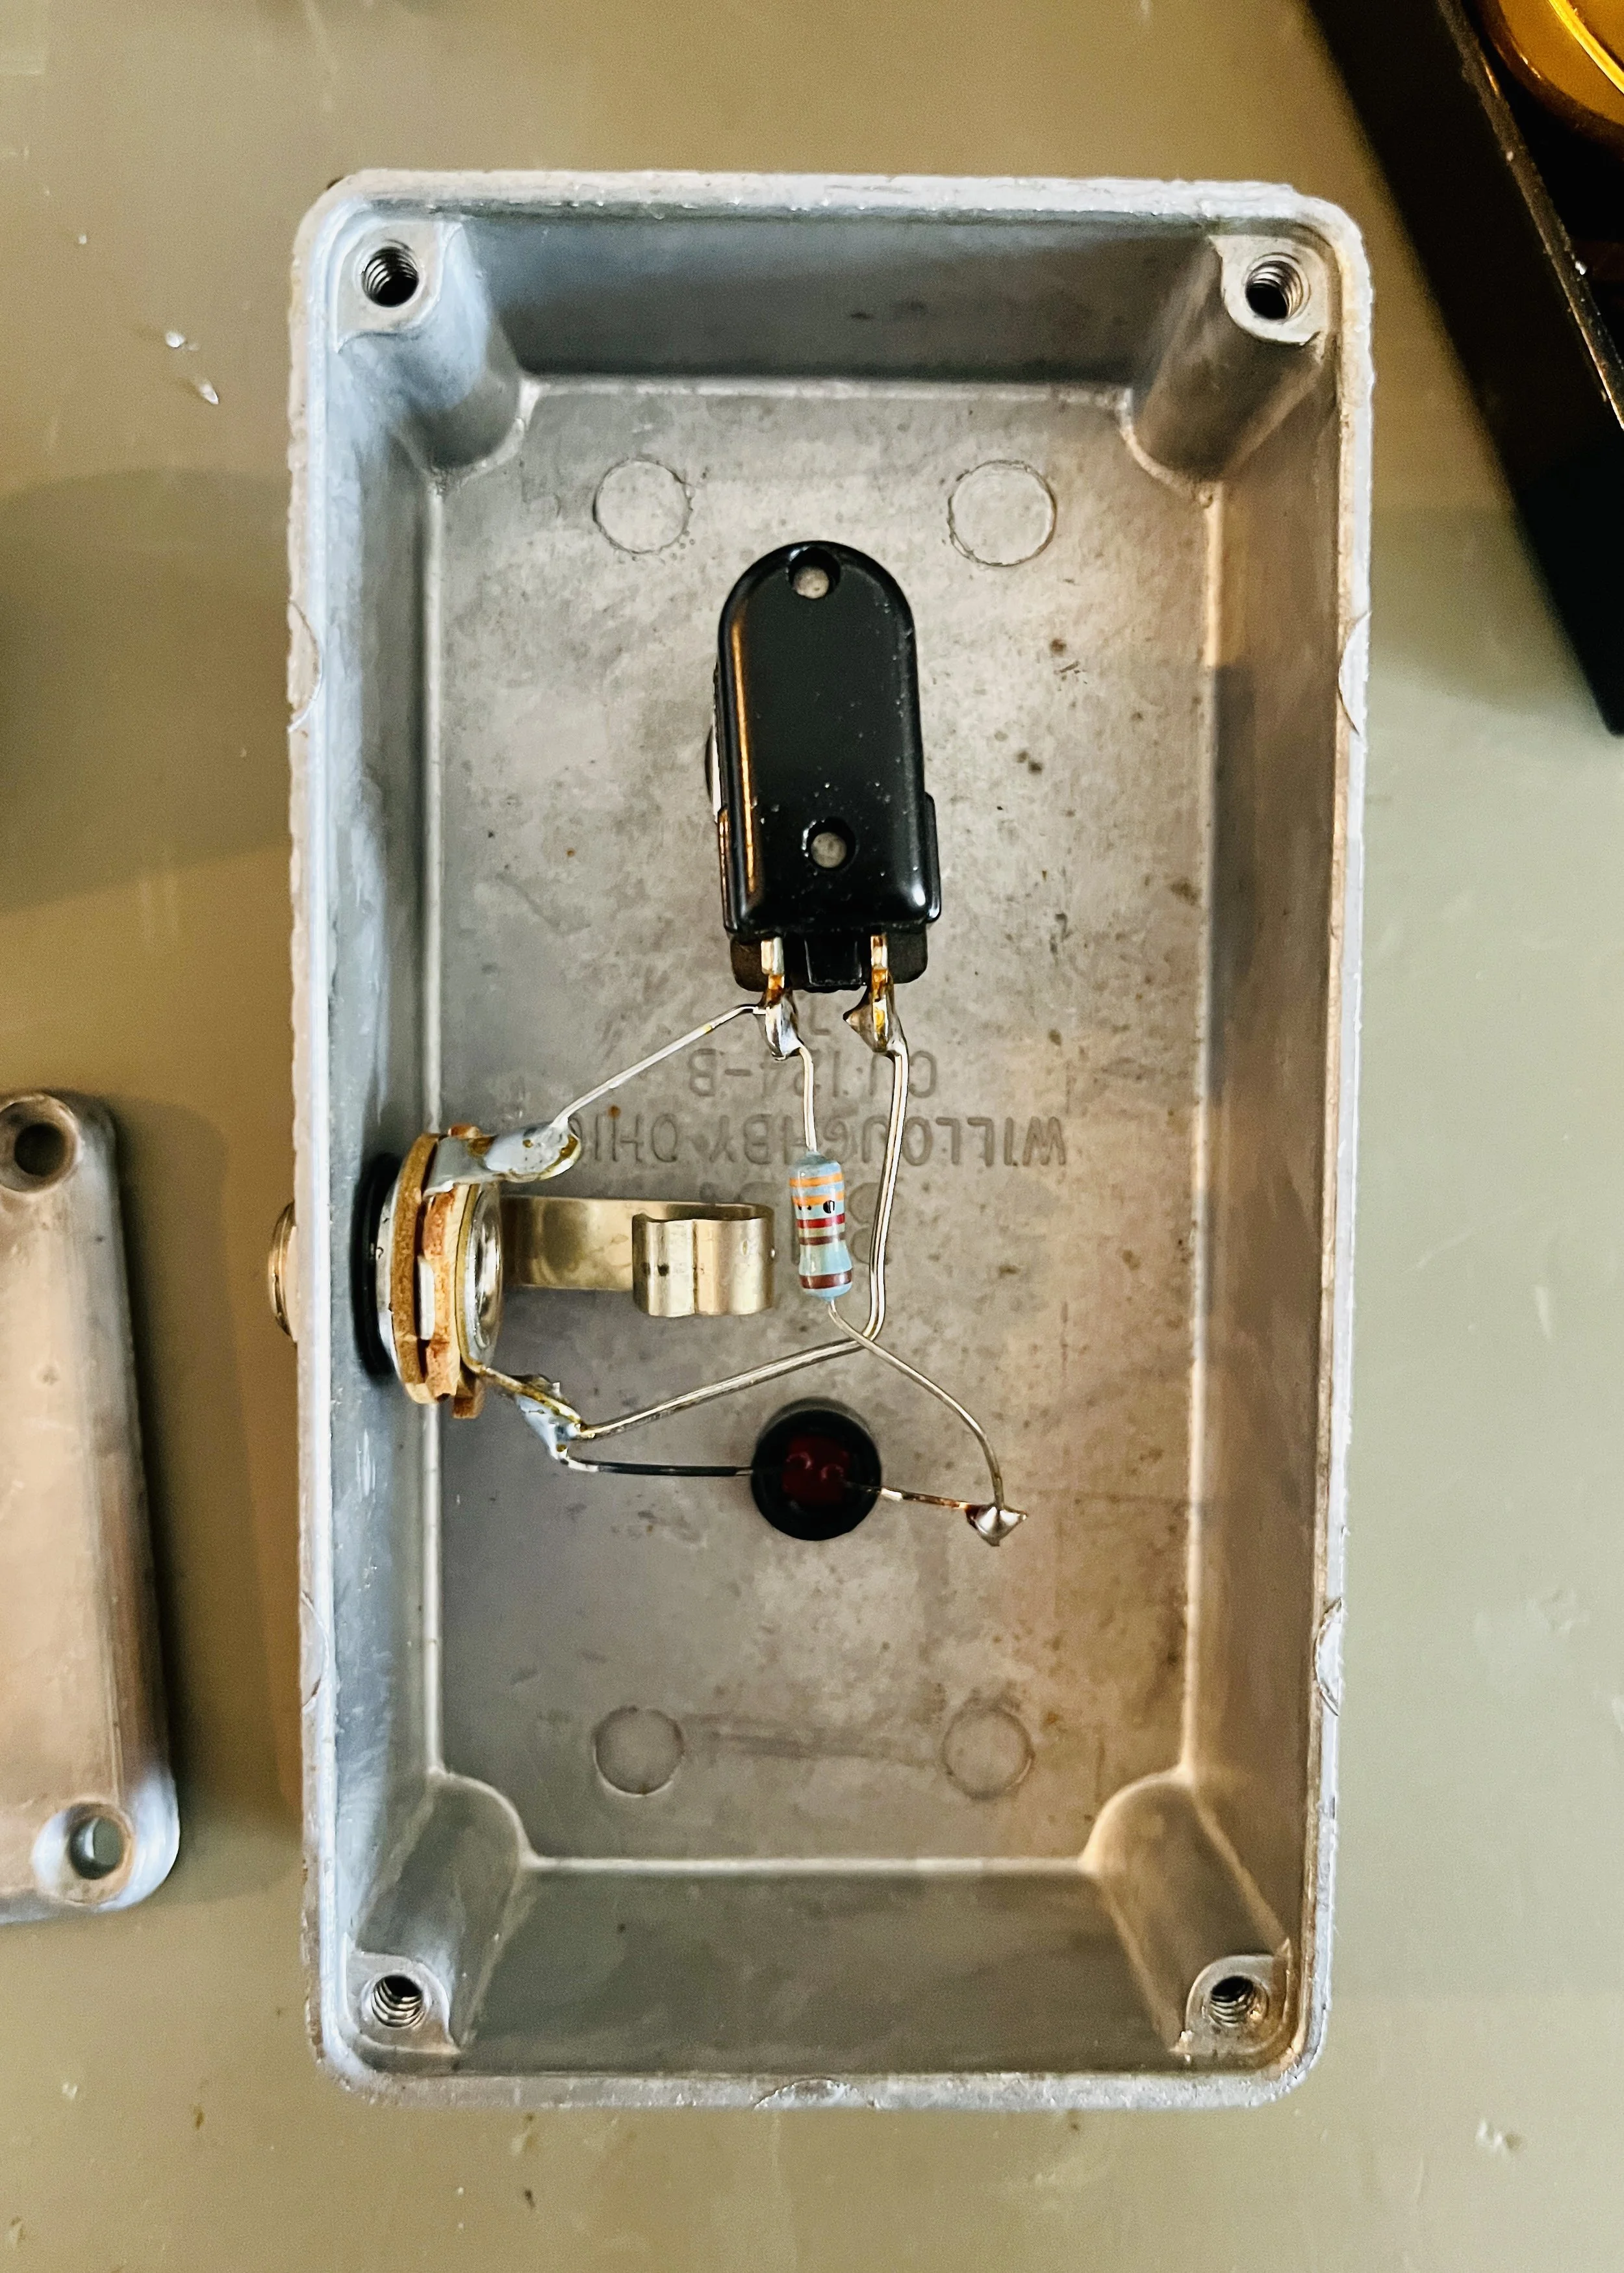
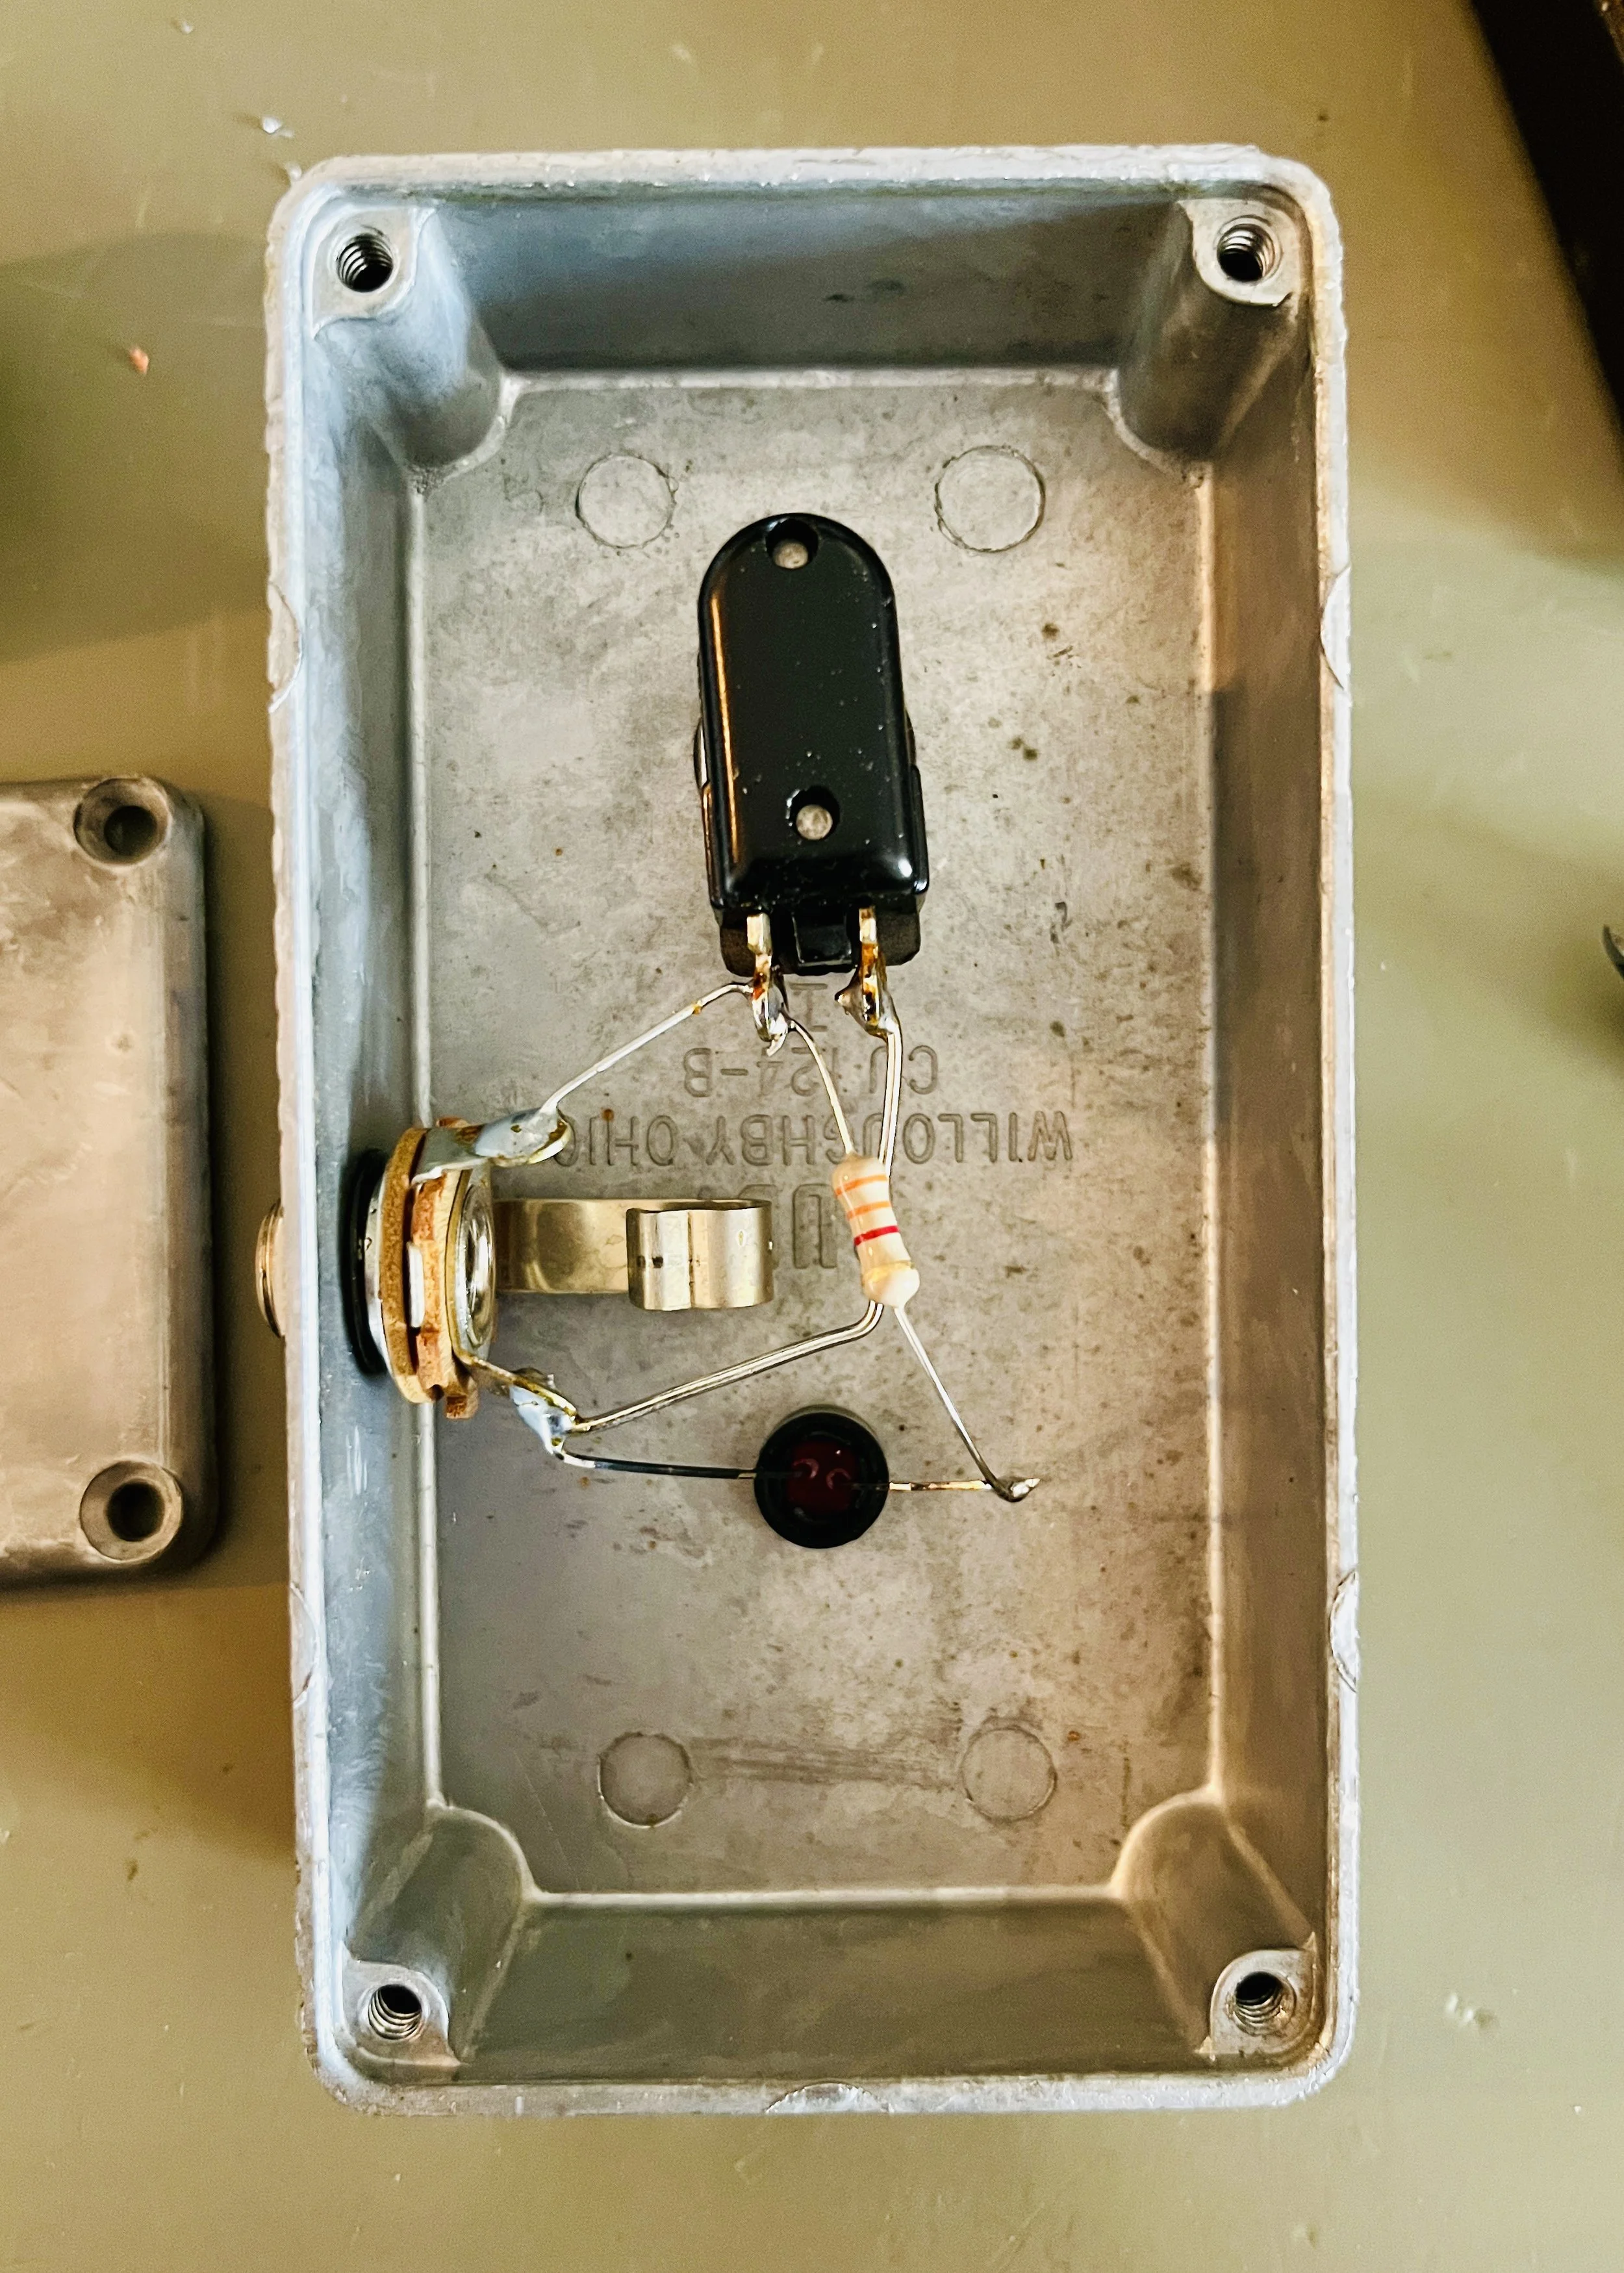
The Foot-Switch circuit was completely rebuilt - all parts in the circuit were upgraded with 2 Watt Reduced Mass Metal Film resistors, a 5 watt Cement resistor, a new 1N4007 diode, and a Rubycon electrolytic capacitor. The cause of the circuit burning out was a design problem from the Mesa Boogie factory. With the updated circuit specs this will not happen anymore. Due to size, the Rubycon cap was mounted on the back of the PCB - this is Mesa’s recommendation.
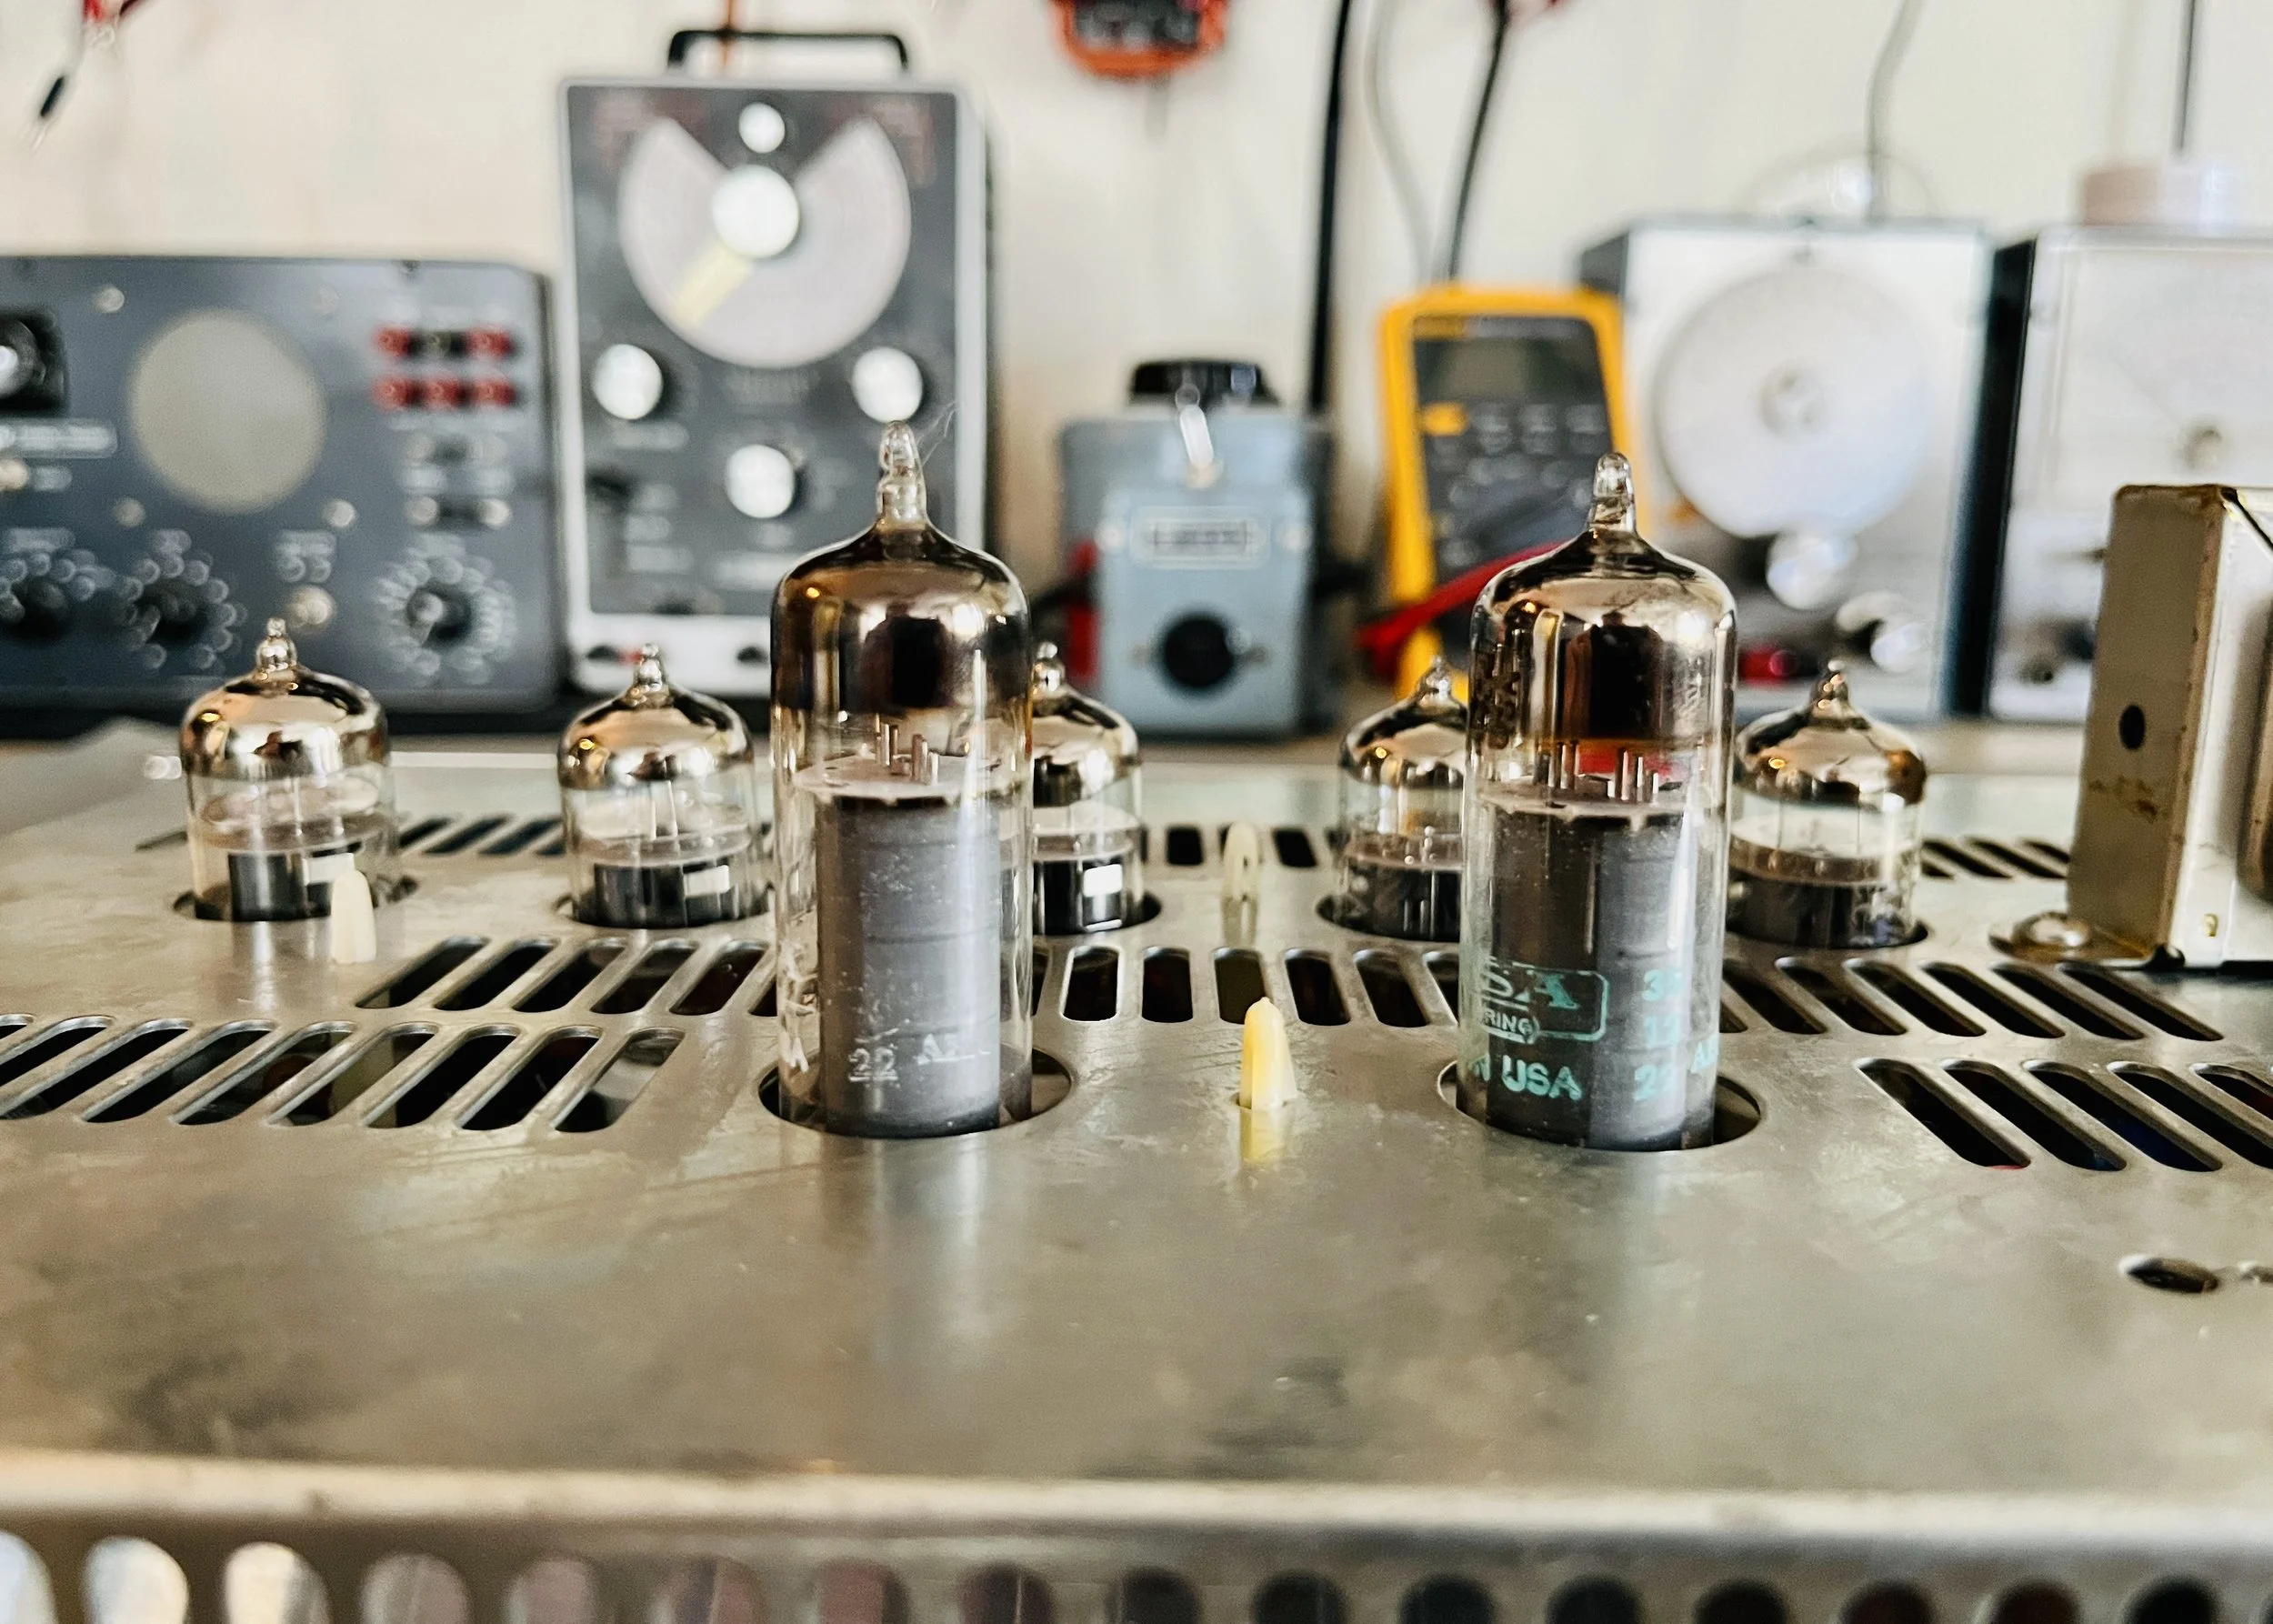
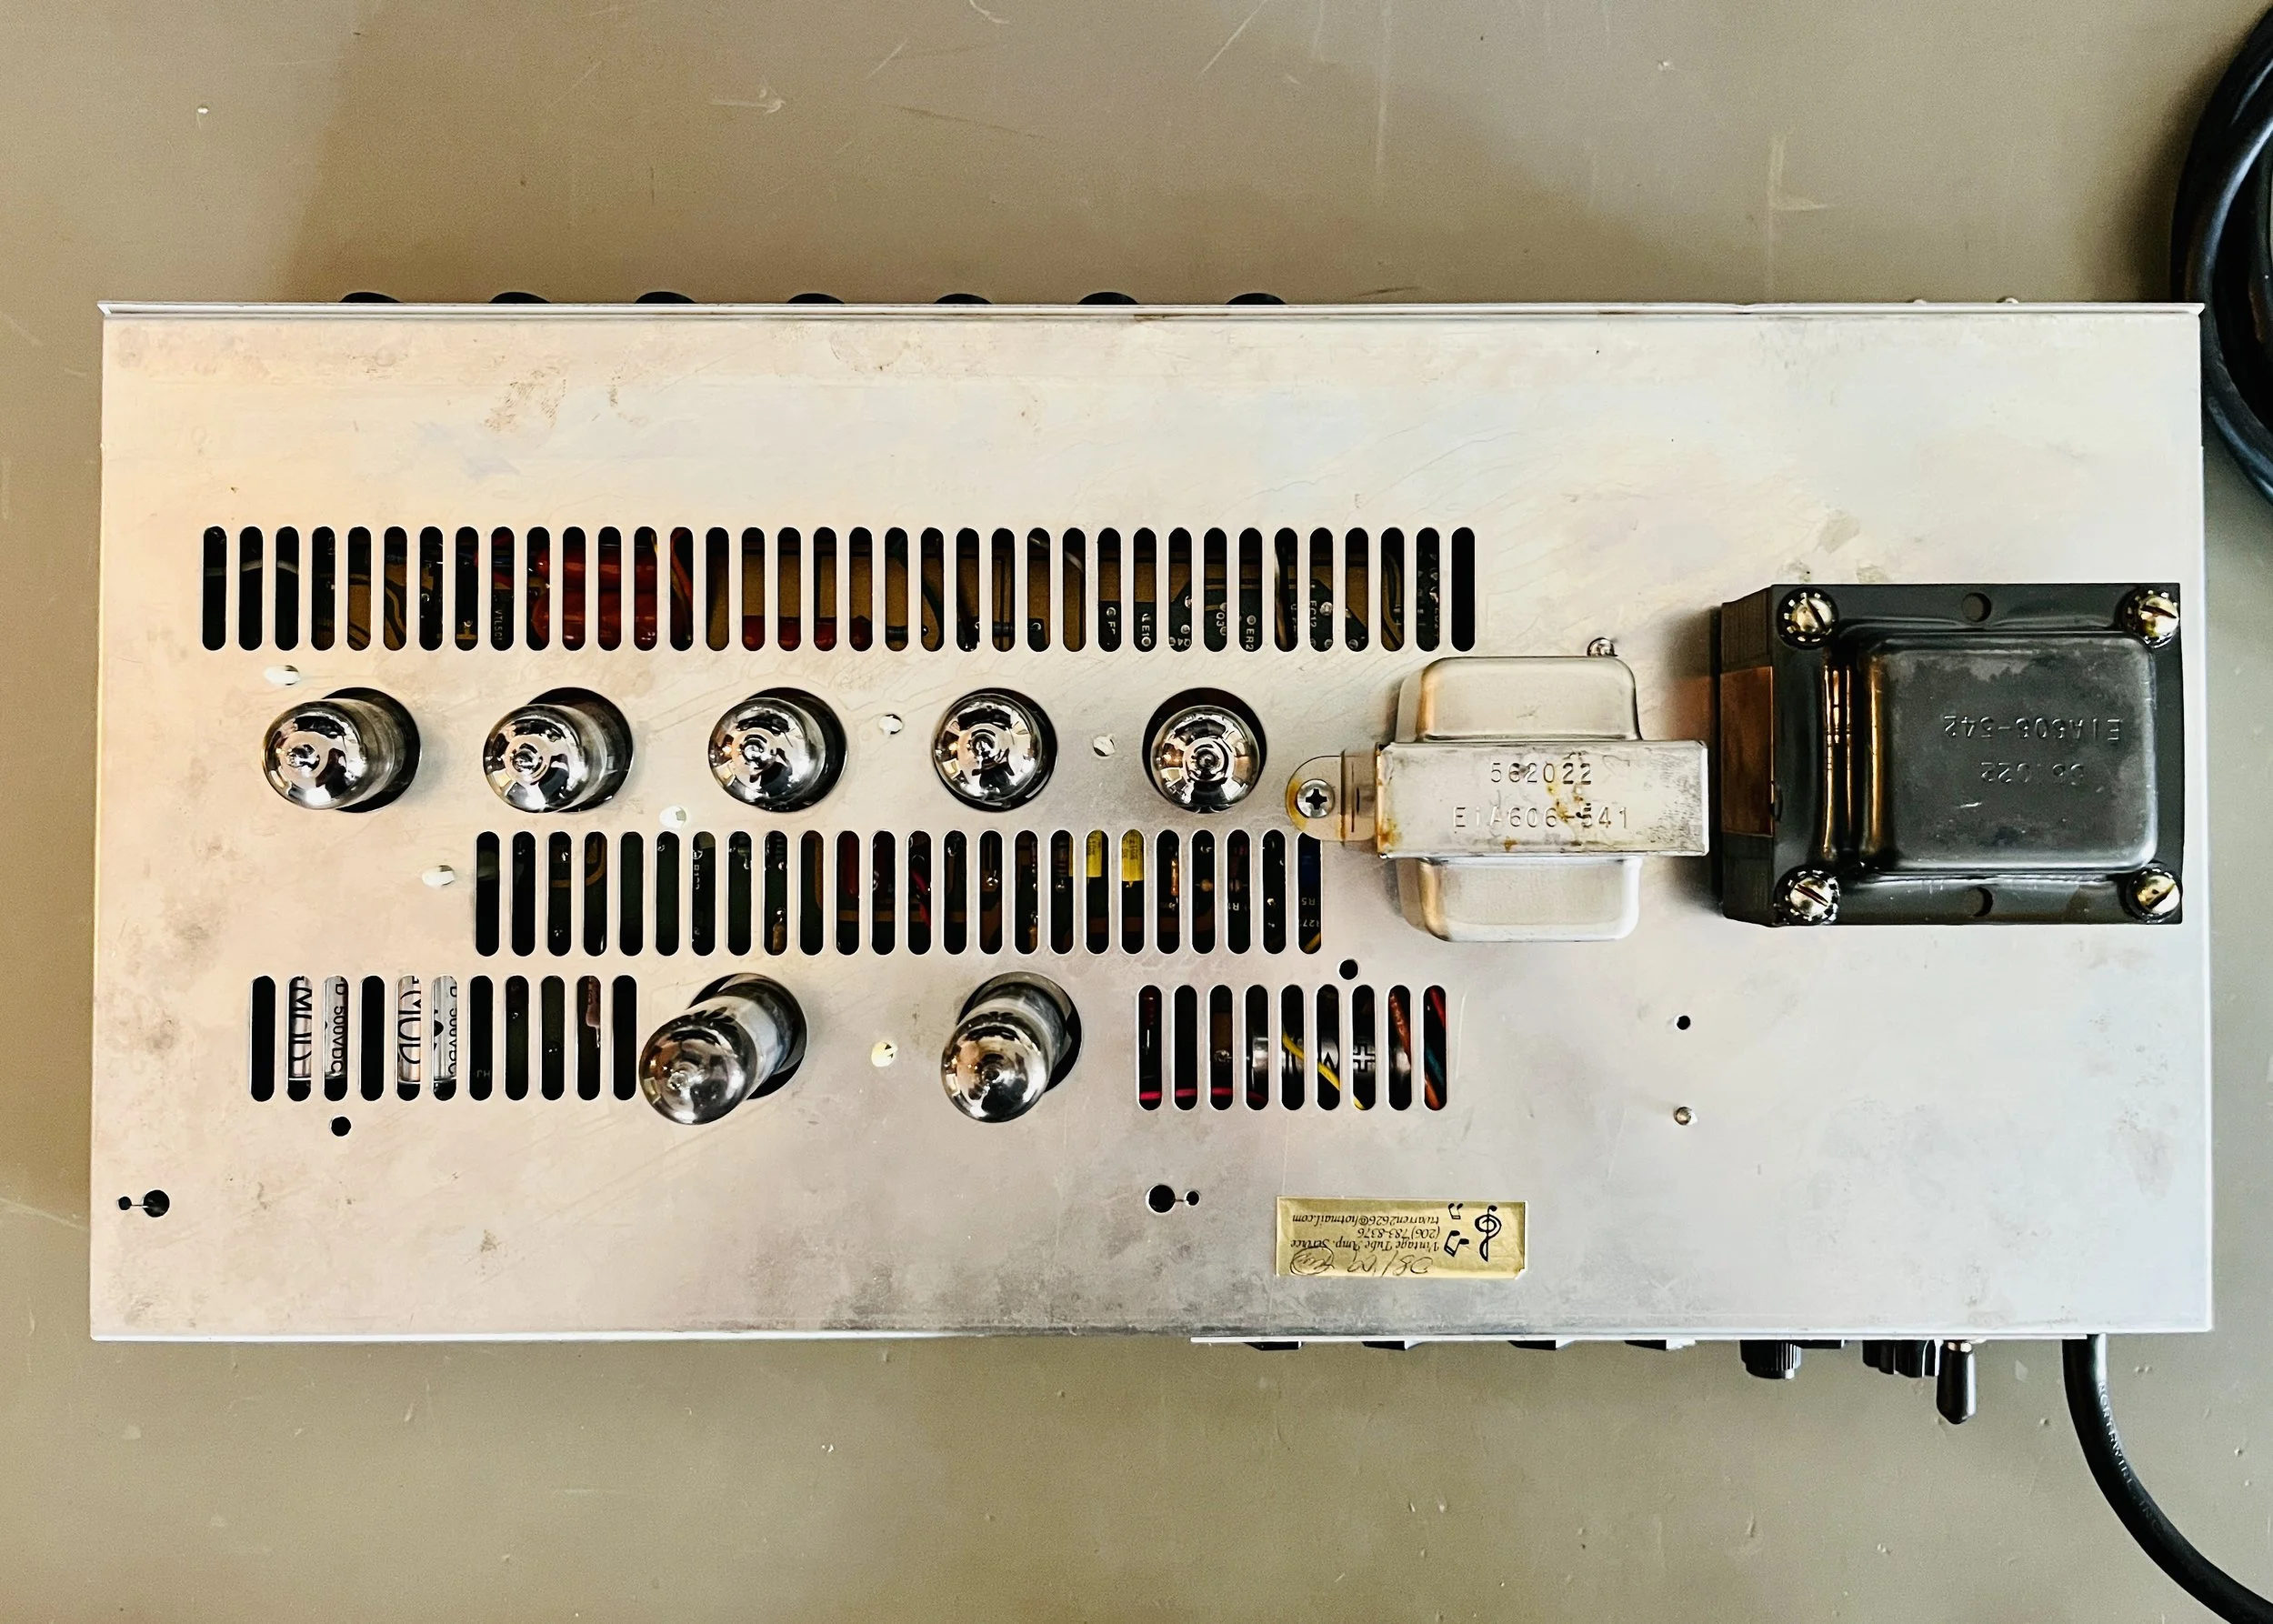
The amp was partially re-tubed. Although the original tubes all tested good on a tube tester, 4 out of 5 preamp tubes were severely micro-phonic in live use. This was the final lineup. V1 = JJ 5751, V2-V4 = JJ 12AX7S, V5 = MESA 12AX7-STR, V4/V5 = NOS SYLVANIA EL84 Matched Pair. I picked out this lineup specifically for this amp to give the best balance of tone, reliability, and low noise. The EL84's Fixed Bias was set to %78 Class AB Plate Dissipation with a B+ of 424VDC. The tube sockets were all treated with De-Oxit to remove/prevent corrosion. All pots were cleaned and all hardware tightened.